
CANDY HOUSE Support
-
SESAME series
-
APP
-
SESAME Touch/Touch Pro
-
Open Sensor / Remote
-
Hub 3
-
SESAME Bot
-
SESAME Bike
-
About order
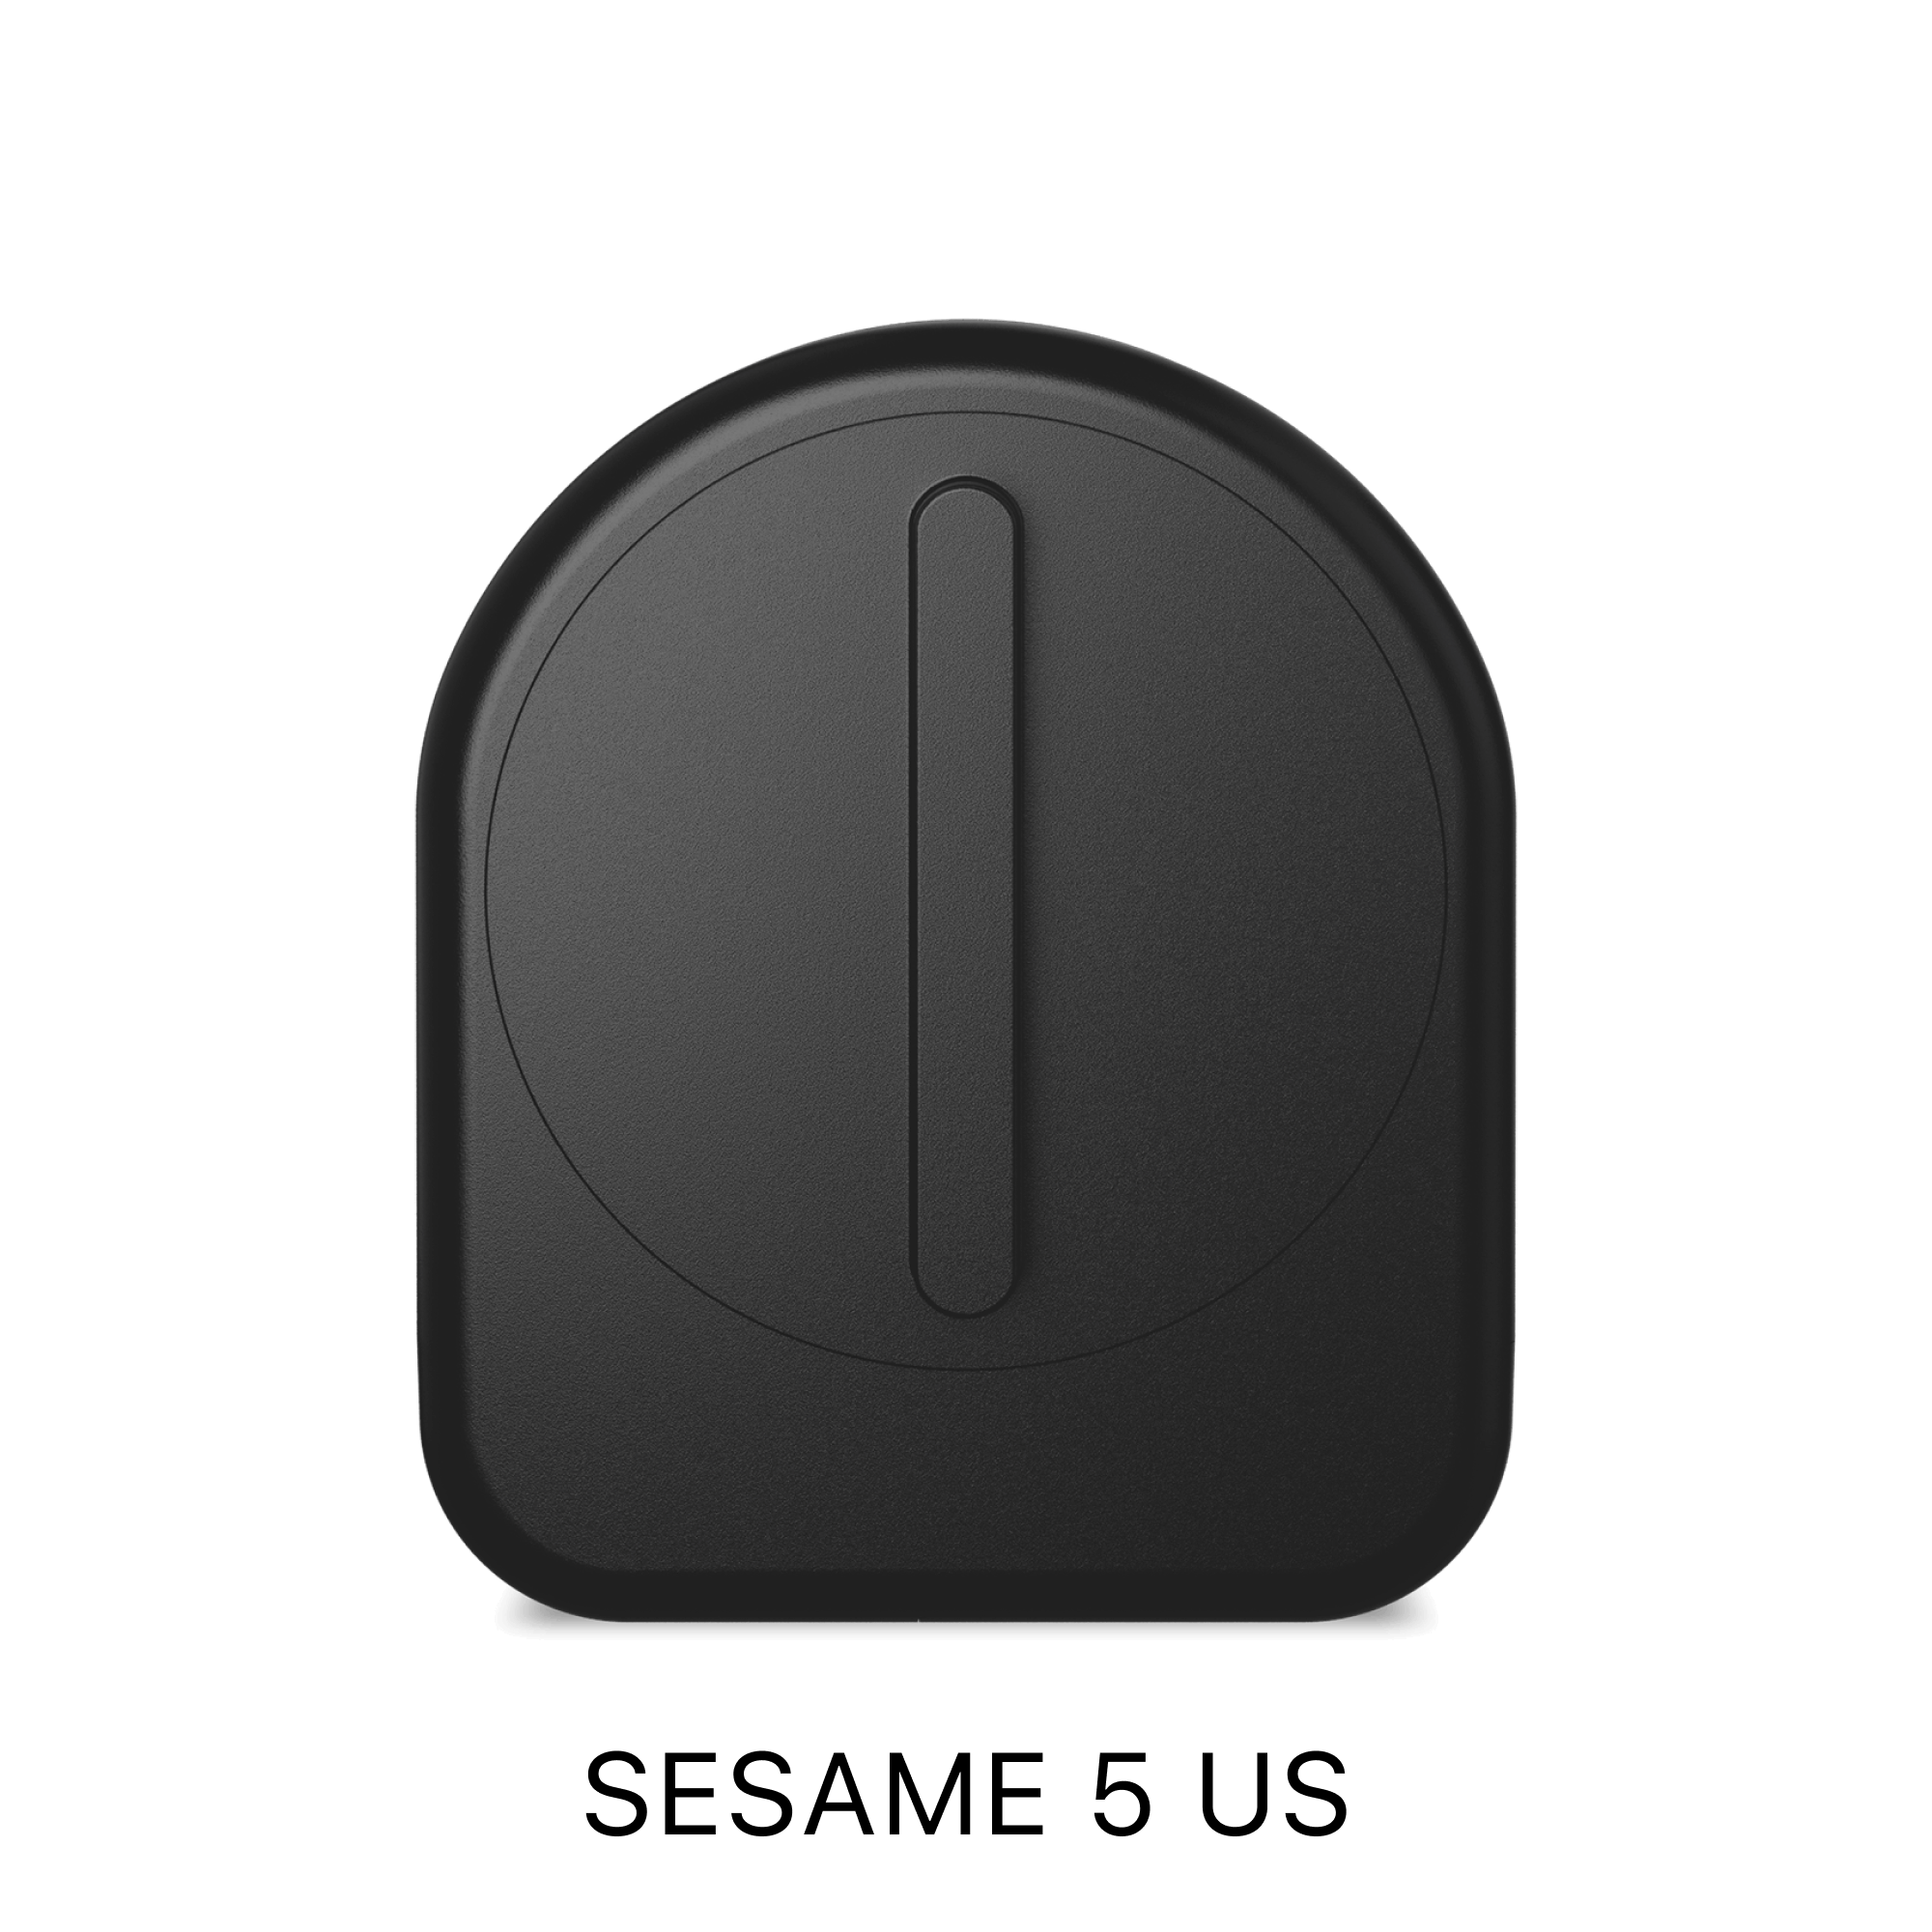
This is a comparison table of the differences between the first-generation SESAME and SESAME 5 USA.
| Feature | Sesame 5 USA | First-Gen Sesame |
|---|---|---|
| App Used |  Sesame, Open Sesame! |
 SESAME |
| Price | $39.00 USD | $119.99 USD |
| Weight (including battery) | 170g | 161.6g |
| Size | 101.0 mm x 85.0 mm x 44.0/52.0 mm (height without/with thumbturn) | 101.0 mm x 85.0 mm x 44.0/52.0 mm (height without/with thumbturn) |
| Battery Life | Over 1 year | Over 500 days |
| Installation Method | 3M Tape | 3M Tape |
| Use of Conventional Keys | Possible | Possible |
| Simultaneous connections | Multiple accounts can connect simultaneously | Only one person can connect |
| WiFi Connection (Remote Control) | Supported (when connected to Hub3) | Supported (when Wi-Fi module is connected) |
| Key Sharing | Possible | Possible |
| History Checking | Possible | Possible |
| Number of Additional Managers/Guests | Unlimited | Up to 4 managers, 99 guests |
| SESAME Touch/Touch Pro Integration | Supported | Not Supported |
| Open Sensor Integration | Supported | Not Supported |
| Matter | Supported (when connected to Hub3) | Not Supported |
| Amazon Alexa Support | Supported (when connected to Hub3) | Supported (when Wi-Fi module is connected) |
| Google Assistant Support | Supported (when connected to Hub3) | Supported (when Wi-Fi module is connected) |
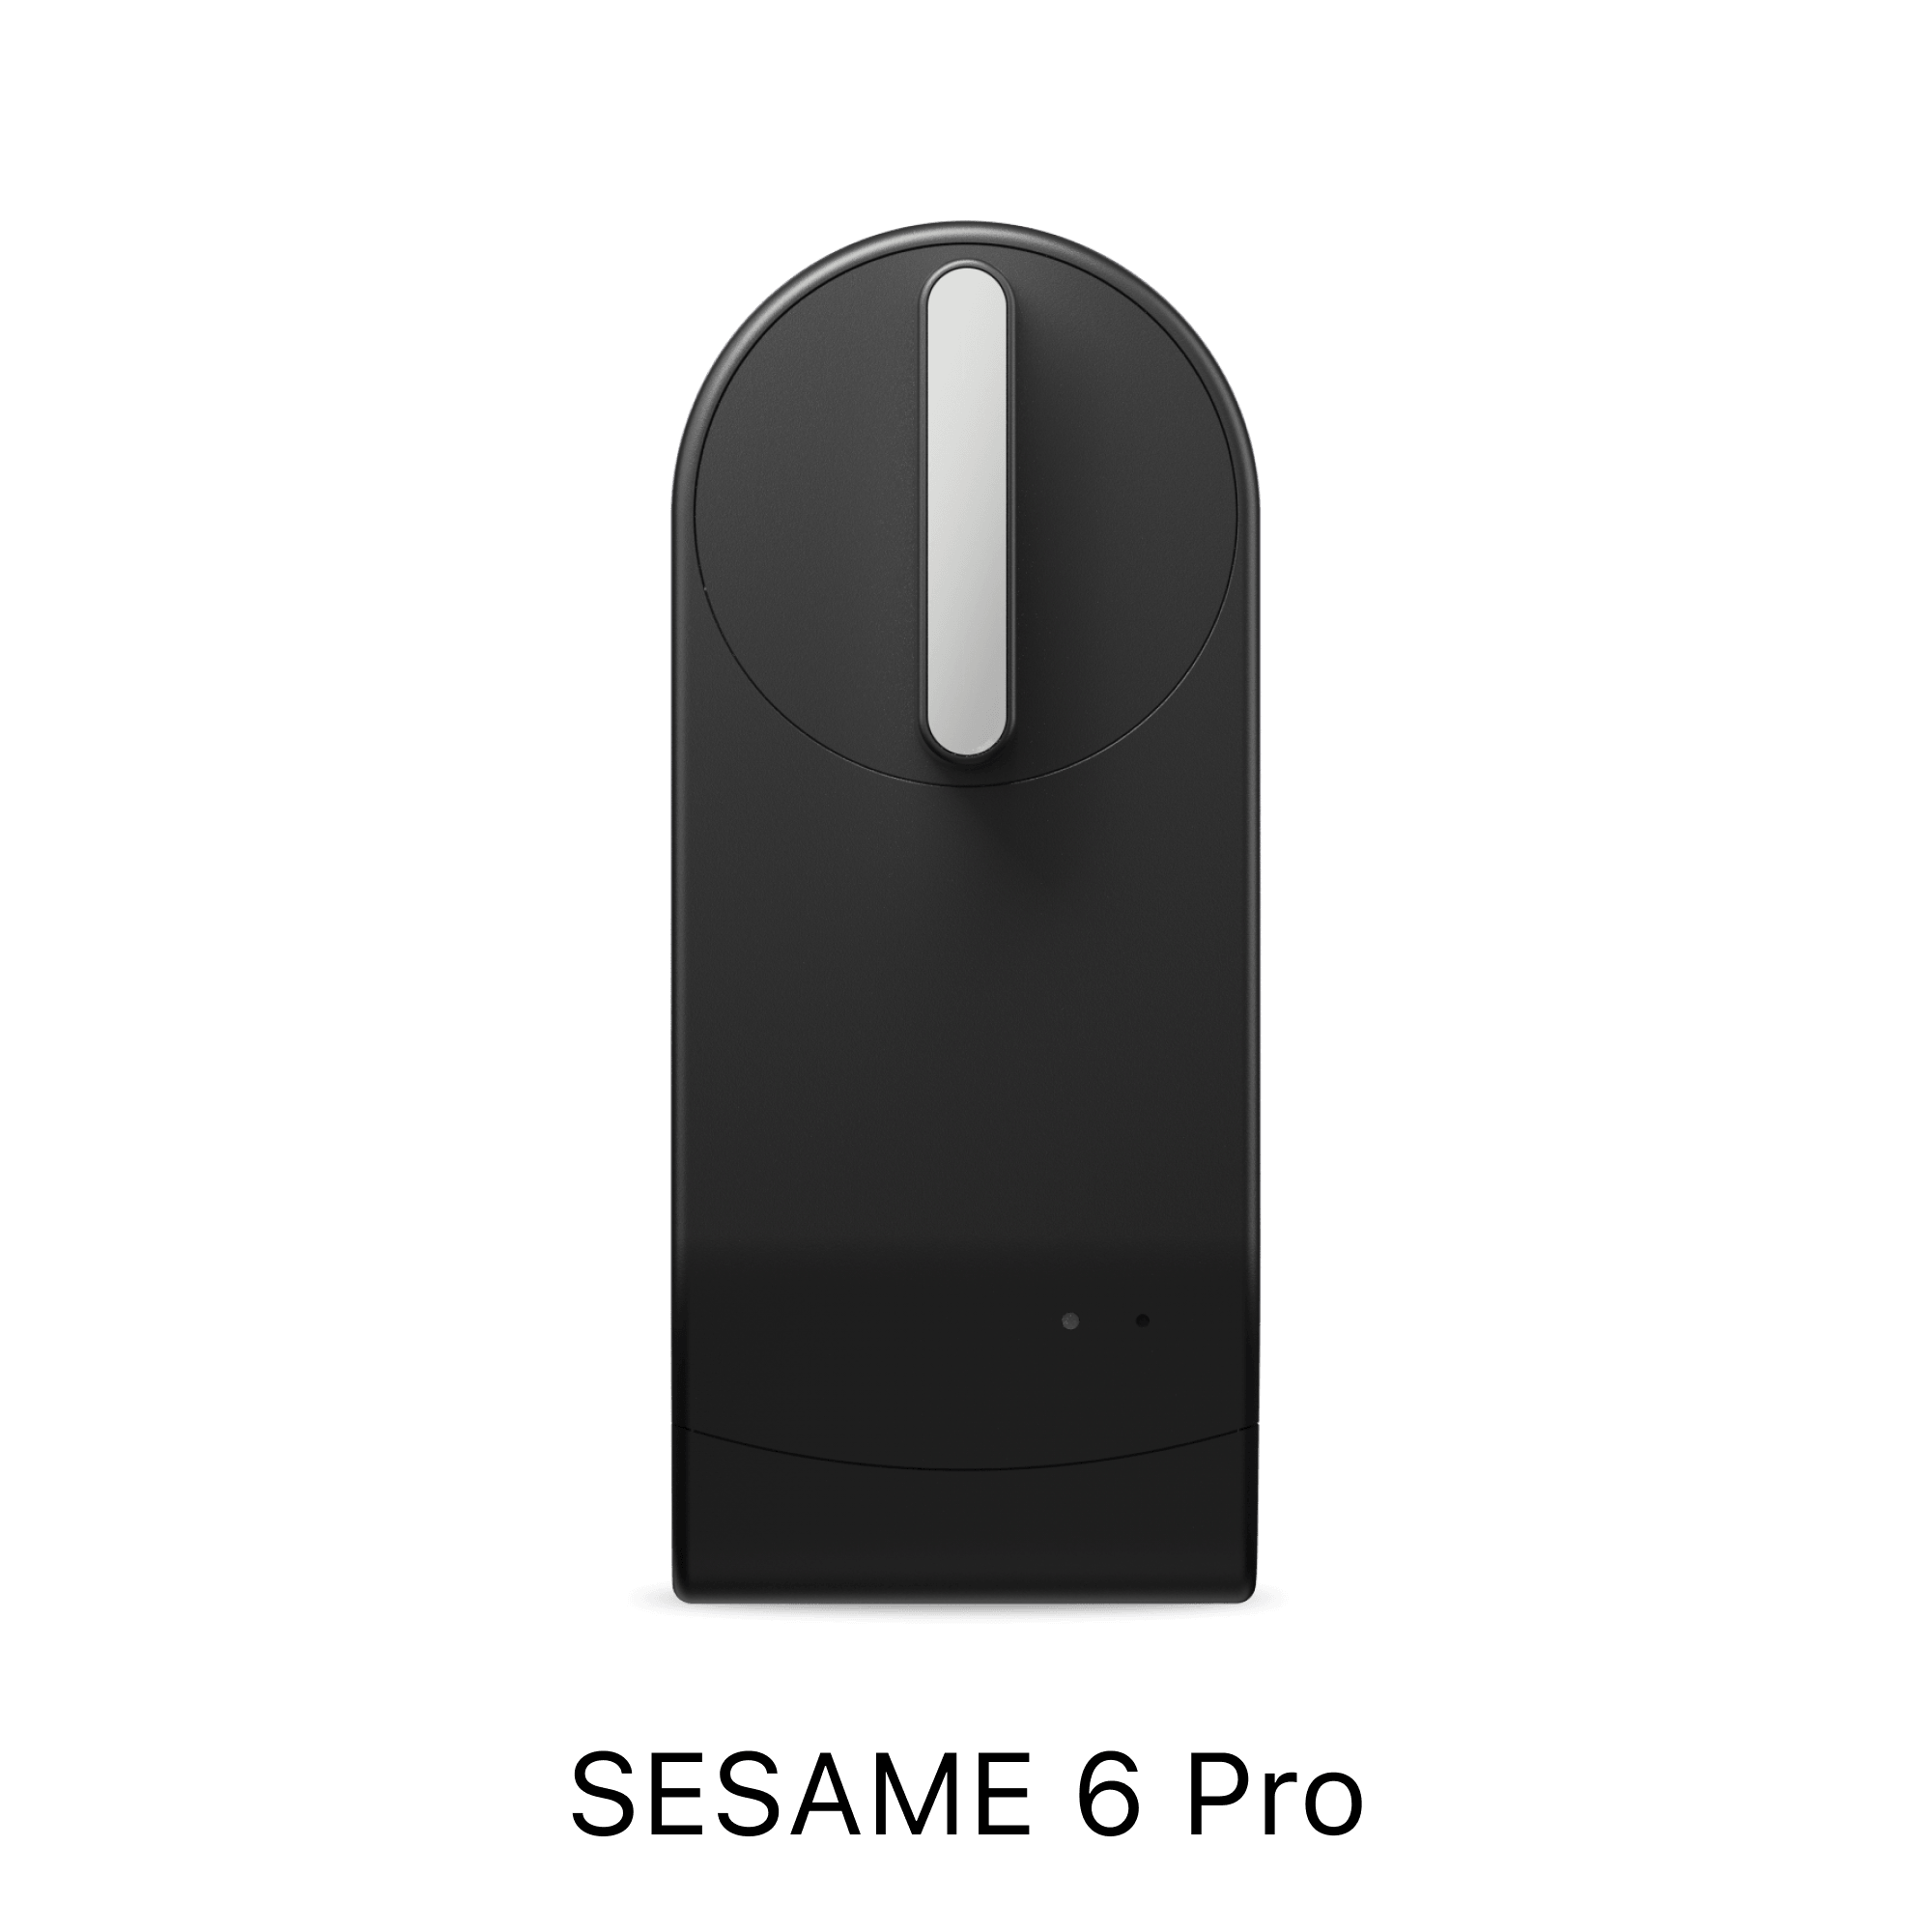
Compared to Sesame 5, the advantages of Sesame 5pro are as follows ↓↓
・ The rotation sound has become quiet!
-The main unit is slim than Sesame 5, and can be attached to keys that are close to some doors that were not installed until now!
・Because it is equipped with a brushless motor,More durable!Recommended for places where people come and go!
Opening and closing a day for more than 10 years.* 1 million open and close durability (Sesame 5 can open and close 50,000 times)
Final update -2023.5.5 Kobayashi
In 5, the angle sensor was improved to increase durability.
Please check the video below for details. (From 12:34 ~)
Final update -2023.5.5 Kobayashi
The blue LED light of Sesame 3 and 4 was always blinking,
The LED light on the 5th body of the sesame will light up and blink before and after the reset button, but does not flash other than that.
Security is a certain country military level. SESAME adopts the strongest encryption system, AES-256-GCM and TLS 1.2. Its strength is that you can bring a supercomputer of one room in front of the house, decrypt it for several years, and finally break through. It is faster to physically break the door, keys and windows.
1. Pull out the insulating sheet
Slide the lid of the sesame to the front, remove the lid, and remove the insulating sheet of the battery.
Sesame LED lights are lit only when resetting and operating.


2. Make sure that sesame fits the key
Before peeling off the 3m seal, make sure that the rotation axis of the sesame and the rotation axis of the key match.

(What is the rotation axis?)
The rotation axis of the thumb turn is the center when it rotates.
Depending on the thumb turn, it may not be the center of the circle, so please check the rotation axis while turning.
3. Make sure that sesame fits the key
After confirming that the rotation axis of the key is matched, check if it can be unlocked and locked manually.

・ If it works well, go to the instructions or 5 below.
・ If you need to adjust the sesame, go to the instructions or 4 below.
4. If it does not fit, adjust the height and width of the thermal part of the sesame.
The height, width and foundation of the knob can be adjusted according to the shape of the thumb turn.
・heightAdjustmentWhen doing, the screw of the blue mark
・Adjust the widthRed mark screw when doing
・Adjust the height of the foundationIf you do, the enclosed foundation adapter and screws (4 pieces)
Adjust it.

⚠️Adjust the height always firstThe knob part is removedPlease go by⚠️
The width adjustment is adjusted by removing the screw surrounded by a red circle with a screwdriver. ( * The screwdriver is included)

① Narrow........ The narrowest width. The inside screw inside.
②........ The middle width. Either left or right is the outer screw.
③ wide........ The outermost screw.

The height of the knob is adjusted by removing the screw surrounded by a blue circle with a screwdriver and pulling it up. ( * The screwdriver is included)

① Low........ The lowest height.
②........ The middle height.
③ High........


If you need the height adjustment, the base adapter is fixed to the main unit with*screws (4 pieces). ( * Foundation adapter, screws (4 pieces), screw driver are included)
There are a total of seven holes.

(※Note)
Match the angle of the sesame and the foundation adapter ↓
5. Make a landmark
Once the rotation axis is perfect and the position where unlocking and locking is decided, mark it with a pencil or masking tape before the actual production.

6. Clean the surface of the door
Please clean the surface of the door with alcohol etc. before installing.
(*If the surface is slippery, such as*wax, the effect of 3m stickers cannot be exhibited 100%, so please do not use it.)

7. Peel off 3m stickers and attach sesame on the landmark
Please hold down for 30 seconds and attach it.
(※Note)
Once removed, the 3m sticker will be more than 70%or more, so if you fail, replace it with a spare 3M sticker and use it.
Completed by installing according to the height of your own key. ︎

If you can not attach it with just the foundation adapter or knob adjustment, you may be able to attach it by creating a special adapter (600 yen)! ?
>>Click here for details
The following types of keys will not be able to respond to sesame, so please check before purchasing.
・ Sam -turn with specifications with a specification that does not have a constant lock/unlocking angle that tries to return automatically after unlocking/unlocking.
・ Sam Turn with play
・ Two -step locking -unlocking method (only hard guard type)
・ Thumb turn that rotates after pushing the knob
・ Sam Turn with a lock/unlocking angle of 50 degrees or less
・ Sliding door type up and down slide thumb turn
Also, if you are uneasy whether your home or company key is compatible with sesame, please contact us below.
inquiry?: sesame@candyhouse.co
(Automatic reply will be sent after a few minutes. If you do not receive automatic reply, please send it again from a different domain or a different email address).
Sesame and smart locks are just pasted inside the door, so you can still use the conventional keys as before.
* Even when unlocked/locked with a normal key, it will be displayed in the use history of sesame.

Last update-2022.10.12
① Download sesame apps
SESAME OS2
② Confirm that Bluetooth is turned on
* Depending on your model, it is necessary to turn on the permission of location information for the sesame app.
③ Press the + mark on the upper right and register the sesame from "New Device".

④ Actually move the sesame thumb to the locked position and set the locking position on the application.
Actually move the sesame thumb to the unlocking position and set the unlocking position on the app

⑤ Tap the middle to check if you can open and close

Please try logging in to the sesame app in the following way.
① Tap "yourself" at the bottom right
Tap the part of ②
③Enter your email address
④ Enter the authentication code sent by email

If the sesame is not detected, please try the following once.
① Off Bluetooth once and turn it on again
② Please allow location information to the sesame app
In the case of an Android smartphone, the location information must be turned on when using Bluetooth.
③ Sesame reset
1. Delete sesame you want to reset from the app in advance
2. Press and hold the hole in the following part with a thin one like a clip.
3. The blue lamp lights up,Until it turns offIf you keep pressing, the reset is completed!
Unlike conventional sesame, sesame 5 USA is a specification that LED light does not blink even after resetting.
1) Delete sesame you want to reset from the app in advance
2) Press and hold the hole in the following part with a thin one like a clip.
3) The blue lamp lights up,Until it turns offIf you keep pressing, the reset is completed!

Sesame 5 is different from the conventional sesame, and the LED light does not blink even after the reset.
Final update -2023.5.5 Kobayashi
1) Delete sesame you want to reset from the app in advance
2) Press the hole in the red malto below with a thin one like a clip.
3) The blue lamp turns on and the reset is completed if you keep pressing until it turns off!

Unlike conventional sesame, sesame 5PRO is a specification that LED light does not blink even after resetting.
* Please note that SESAME 5 Pro cannot register unless the iOS app version is 3.0.31 or later even if the main unit is reset.
If you have installed the following application applications that have been released before, you may see the crash of the app.

Sorry to trouble you, but please search for "Sesame" by searching inside the smartphone once and check if the above application remains. If it is left, please delete the app for sesame 2 above.

Please also try the following items together.
① Uninstall the sesame app, install again (login is required after installation)
② Update of OS of smartphone terminal
③ Restart smartphone
SESAME can be opened and closed with conventional keys. If the charging is gone, it can be unlocked with a normal key.
Alternatively, you can download the app on your smartphone device in your friend or your neighbor, log in with your own account and access the key. After that, please delete the log out or app on the terminal you borrowed.
If you install sesame, you can use no repair, no tool requires an auto lock!
① Open the sesame app
② Select the sesame you want to set the auto lock, tap the “…” on the upper right and open the setting screen.

③ Turn on "Auto lock" and select any time (can be selected from 3 seconds to 1 hour)
④ Return to the top screen and check if the auto lock is operating

When configuring the auto lock function, it is necessary to set it in a state connected to Bluetooth. There is.
Please check the connection status of Bluetooth once.
Also, when you are outside the connection range of Bluetooth, the auto lock setting tab will be grayed out and you will not be able to switch,
If the auto lock is set on in advance, the auto lock will work.
Final update -2022.10.7 Kobayashi
Are there any other registrants now?
The auto -lock function on -off needs to be unified, so if one registrant is set on and operated, the auto lock function will be turned on on the terminal of all registrants. Please check with other registrants once.
Also, when you are outside the connection range of Bluetooth, the auto lock setting tab will be grayed out and you will not be able to switch,
If the auto lock is set on in advance, the auto lock works.
Final update -2022.10.7 Kobayashi
Please check the following items once.
①Confirm that the "location information" related to sesame apps is "ON" or "always permission" in the setting of the smartphone terminal.
Also, Android depends on "high accuracy" and iOS models.Please make sure that "accurate location information" is set to ON. Depending on your modelThe displayed words may be different.
②Confirm that Bluetooth is ON. (When the smartphone goes out in the red circle range and enters again, the sesame becomes on the standby state, and when the smartphone enters within the scope of sesame's Bluetooth, it is detected and unlocked.)
③Make sure the key is locked. (If the key is unlocked, it will not work)
④Make sure that the sesame app is not open and it works in the background ※Enter the circle from the outside of the setting circle,BluetoothOnce the sesame application and widget screen (iOS) is opened within the range of, the empty -handed unlocking function is not activated. Also, please make sure that the sesame app is working on the background.
⑤If you use a power -saving app, or if your smartphone is set in low power mode, please release it.
Hands -handed unlocking is the red circle range of the setting, and if the location information of the smartphone comes out, the user is judged to have out, and if it enters the red range again, launch empty -handed unlock. At that time, if the smartphone and sesame are connected by Bluetooth, the unlocking empty -handed will be activated.

For this reason, the location information of the smartphone may fly out of the red range due to blurring of the location information, etc., and if you return to the correct position again, the unlocking may be activated. Therefore, the wider the setting circle, the lower the probability of malfunction due to a position blur. Please try it once.
The sesame mark on the map will be set manually. If the sesame mark is not displayed on the screen, you can set the position of the sesame mark by tapping the correct position of the sesame on the map. If the sesame mark is not displayed even after tapping, or if the map display is strange, please try the following once.
① Restart smartphone
(2) In the case of iOS to acquire the location information of the sesame app, please make sure that "permission" is always set on on.
In the case of Android, please make sure that the location information permission is set to "ON" and the mode is set to "high accuracy".
・ The words displayed may differ depending on your model.
If you use the empty -handed unlocking function, it is necessary to always get location information, so
The battery consumption is inevitable, but we will do our best to improve it.
We apologize for any inconvenience, but thank you for your understanding.
In addition, even if you start the app in the background when you are out of the circle of the unlocking of the settings, the empty -handed unlocking will be activated.
Before returning home: Start in the background before returning to the range
After returning home (after unlocking): Erase from the background
When not using the unlocking function as described above,Even if the empty -handed unlocking function is already set off,By erasing the app from the background,There is a possibility that the battery consumption can be alleviated, so if you can try it once.
Using the following shortcut apps

A button can be installed on the home screen or widget. When creating a shortcut, it is possible to unlock in a lump by setting two actions as follows. (There may be some time difference.) (If you turn off the display at runtime, you will not have to tap over and over again.)

After the shortcut creation, it can be added to the home screen and widgets as follows.

Please note that you can depend on your smartphone.
The detailed shortcut procedure is described in the following link, so please check it out!
How to create a shortcut
If you set "Widget and Handsome Unlock" on the Sesame setting page, you will be ON,
Sesame is displayed on the widget, and batch locking and unlocking can be performed by tapping "Lock All/Unlock All".


Previously, the first sesame and sesame mini supported knock unlocking,
Unfortunately, Sesame 3/4/5 does not support knock unlocking.
However, if you are an iPhone user, if you make the following settings, you can feel like knock unlocking!(It is necessary to perform the smartphone unlocked due to the restriction on the iOS side.)
First, let's go from creating a shortcut!
①Open a shortcut app
②Tap "+" in the upper right to add a shortcut
③Tap "Add Action"
④Enter "sesame" in the search column and find the sesame app
⑤ Tap your desired action
⑥Please enter the name of the sesame with the same name as the name of the sesame app.
Also, if the display is turned off at runtime, there is no need to tap over and over again.
After tapping the execution button at the bottom right, confirming that the action is performed properly.
Please tap the finish button on the upper right.
The creation of the shortcut has now been completed. Next, we will set the smartphone! ??
① Close the shortcut app, open the smartphone setting page, and tap "Accessibility"
② Tap "Touch"
③Tap "back tap"
④Tap a double tap
⑤After selecting the shortcut set earlier, the setting is completed. ??
Try the back of your iPhone twice and try sesame locking and unlocking! ??
Final update -2022.10.12 Kobayashi
"It's troublesome to open an app every time you enter the house ..."
If you use the Widget function even in such you
Even if the smartphone is locked, the key can be opened and closed smoothly.
① SmartphoneLocked stateSo, on the home screen, swipe to the right> "Edit"> "Customize"
(If you operate in the lock state, the "edit" button will not appear)
②Select Sesame app> "Complete"
This is done!
You can lock and unlock simply by swiping to the right!
moreover,
You can operate it simply by swiping to the right on the lock screen! !
"It's troublesome to open an app every time you enter the house ..."
If you use the Widget function even in such you
Even if the smartphone is locked, the key can be opened and closed smoothly.
① Sesame app Open
Open
② Select the sesame you want to set the Widget and tap "..." on the upper right.
③ Turn on "Sesame Widget"
The setting is now complete!
Even if you don't open the app
You can open and close the key simply by swiping from the screen!
moreover,
You can open and close even when the screen is locked!
Please note that you can depend on your smartphone.
If you set the widget function to ON, you can operate the sesame via the widget even if the smartphone is locked!
It is very convenient to be able to operate the sesame without unlocking the lock of the smartphone, but I think that some customers are worried that others will take their smartphones without permission.
If you want to set the widget operation only when the smartphone is not locked,
Please set according to the following procedure.
(1) Tap "SESAME WIDGET" on the setting page of the authority app notification in the Android smartphone settings

② If you set the lock screen to "Hide the private notification contents",

If a smartphone is locked, the key icon will be hidden like the screenshot below.
You will not be able to operate.

Please try the settings by the following procedure.
① Open the sesame app.
Select the sesame you want to set in siri, tap "..." on the upper right, and open the setting screen.

② Tap the Siri voice command.

(3) Select the desired operation method from the three items of "unlocking, locking, locking/locking".

④ Enter the phrase to call Siri with the audio command on the screen addition to Siri, tap addition to siri, and complete the registration.

If you would like to set the second action, you can set it with the following shortcut app.
Please check the following for details.
Final update -2022.10.12 Kobayashi
Sesame apps do not support the above settings,
In the case of iOS, you can use the automation function of the shortcut app so that sesame can be unlocked and locked on time!
Please try the setting according to the following procedure!
① Open a shortcut app
② Tap "Automation"

③ Tap "Create Personal Automation"
④ Tap "Time"
⑤ Set the desired time and tap "Next"
⑥ Tap "Add Action"
⑦ Enter "Sesame"
⑧ Select "Lock sesame" or "Release sesame" (please choose according to your desired usage)
⑨ Enter the name of the registered sesame, set the display off at runtime, and tap "Next".
(If you want to display at the time of execution, there is no problem if the display is turned on at the time of execution.)
⑩ Set "Ask before execution" off and tap "Finish"
(If you want to confirm once before execution, there is no problem if you set "ask before execution" on it.)
This is done! ??
The update of the sesami application will be supported in the store of each model, so please update from the following link. (If you have a sesame app at the app store, and if there is a display of "Update", you need to update it to the latest one.) Click here for iOS Click here for Android
If Sesami OS is already the latest version, it will be displayed next to the version (latest).
(The photo below, the photo on the left)
Also, if the Sesame OS is not the latest version, a red number will be displayed next to "Update SesameOS", so please tap the red frame and update it to the latest version.
(The photo below, the photo on the right)

In the case of a WiFi module
Currently, even if the WiFi module is the latest OS version, the WiFi module is not displayed as "latest".

Owner: All management is possible (owner, manager, guest key share, deletion)
manager: Manager key, deleting the key to guest key keys, deleting
guest: Unable to share keys, cannot be operated in remote (via WiFi module), cannot view history, cannot set angle / auto lock setting
Previously, guests were able to set up key shares and angles, but we updated them so that they could not share from August 2021.
* If you want to display the user's name in the history, you need to log in to the user.
When a user who is not logged in opens and closes, it is displayed as "Unregistered".
We recommend that you register/log in your account before share the key.
① Select the key you want to share and tap the “…” on the upper right

② "Share this sesame key"> Select the key you want to share

③ Ask the person who wants to share the QR code to read.

Or, from the upper right mark as an image file
You can share through various media!


② Tap the person you want to share the key on the contact page and share the sesame. 

Read the QR code from "⊕"> "QR code scan" on the upper right.

Alternatively, you can get a share by reading the image of the received QR code!

Deleting guests/managers is also easy.
Sadly, there is no longer needed to have a boyfriend and girlfriend returned a duplicate key.
Select a guest/manager you want to delete> "Cancel the key"

In addition, if you have any questions, please contact the following email address.
(Automatic reply will be sent after a few minutes. If the automatic reply is not reached, please send it again from the domain permission or a different email address again.)
Final update -2022.11.1 Kobayashi
In the first sesame and sesame mini, there were restrictions on up to 4 managers and 99 guests,
Please be assured that there is no limit on the number of registrants in Sesame 3/4/5/5Pro/5USA.
If you have Apple Watch, you don't need a smartphone anymore! Locking and locking keys can be done very easily. When you go out for a while or go out for jogging, if your pocket is light, it will be lighter.
The setting method is very easy!
1. Smartphone edition
① App Store → Download the latest sesame app → Add/Sesame → Close the app

② Watch app → Install sesame

2. WACTH edition
① Tap the sesame icon → over!

Now you can unlock and lock sesame! Is it very easy, right?
troubleshooting
Isn't Bluetooth connected well? → Try the in -flight mode on / off.
When this display comes out!
→ ① The screen of the sesame with the smartphone and Watch sesame app is opened.Pull down and updatedo

→ ② With the smartphone app and Watch at the same time,Forced and reopen each smartphone app, Watch's smartphone app
→ ③ ③ Uninstall the sesame app and install it againdo
(Please log in again after installation.)
( * Note: Watch (1st, 2nd generation), Series 1, Series 2 are not compatible)
→ ④ Reboot of smartphone, Apple Watch
→ ⑤ On / off of the cabin mode of the APPLE Watch
Compression
Sesame also supports Watch Complusion.
Watch by using complicationsEasy from the home screenYou will be able to access Sesame!
How to set up
① Watch screen length press
② "Edit"
③ Slide and go to the complex screen
④ Tap where you want to add
⑤ Turn the crown next to Watch and select sesame
If the icon of the sesame application appears at the end of the Apple Watch, the setting is completed.
It is very convenient because there is no need to find a sesame app!
Sesame that becomes more and more convenient, why not enjoy your smart life too?
Sesame also supports Watch Complusion.
Watch by using complicationsEasy from the home screenYou will be able to access Sesame!
How to set up
① Watch screen length press
② "Edit"
③ Slide and go to the complex screen
④ Tap where you want to add
⑤ Turn the crown next to Watch and select sesame
If the icon of the sesame application appears at the end of the Apple Watch, the setting is completed.
It is very convenient because there is no need to find a sesame app!
Isn't Bluetooth connected well? → Try the in -flight mode on / off.
When this display comes out!
① With the smartphone and Apple Watch sesame app opened, the screen of the sesamePull down and updatedo
② With the smartphone app and the Apple Watch at the same time,Smartphone sesame app、Apple wAtch's smartphone appEach is forcibly terminatedThen reopen
③ Apple wWith the Atch openUninstall the sesame app and install it againdo
(Please register your account in advance. Please log in again after installation.)
④With a smartphoneApple wRestart Atchdo
⑤ On / off of the cabin mode of APPPLE Watch
( * Note: Apple Watch (1st, 2nd generation), Series 1, Series 2 are not compatible)
Also, if you do not improve even if you try the above, together with the following information.sesame@candyhouse.coPlease contact us
・ Photos or videos that can check the situation of the problem
Can you check if you're in the spambox once?
In addition, if you use the following carrier mail address, you may not receive an e -mail with the authentication code.
docomo.ne.jp
ezweb.ne.jp
softbank.ne.jp
I.SoftBank.jp
I'm very sorry,
Please set the e -mail from [noreply@candyhouse.co] to be able to receive it and try it again.
Please note that the authentication may fail if it takes time from receiving the code to input (3 minutes or more).
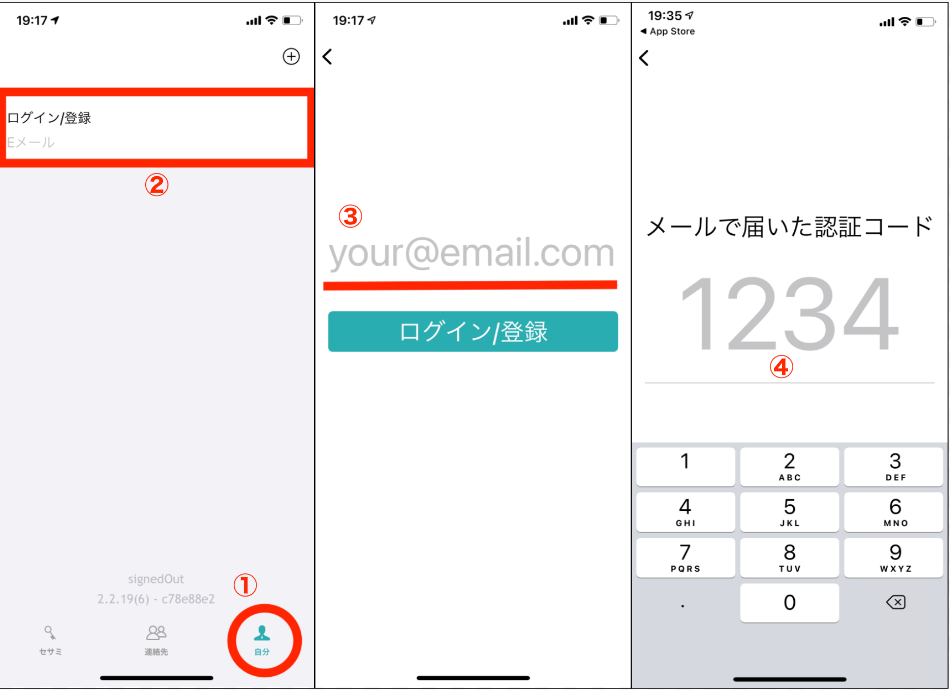
The login method is as follows.
① Tap "yourself" at the bottom right
Tap the part of ②
③Enter your email address
④ Enter the authentication code sent by email
Also, on the "self" screen below, if you swipe the screen up, you will get a "log out", so you can log out by tapping "Logout".
Also, if you wish to change your name
Tap the registered email address item and enter your favorite name.♪

You can easily sort by pressing and holding the target sesame and pulling up and down.
(Please update the sesame app to the latest version and use it)


Final update -2023.05.30 Kobayashi
If "Unregistered user" is displayed, the registrant will not register an account in the sesame. By registering the sesame a count, the name will be displayed in the history list and the management screen, and you will be able to recognize it.
① Click here for registration/login setting method to register an account and log in to the registrant: Login method
(2) When the account registration/login is over, please try to lock/unlock it from the application. In that case, the name will be displayed on the history screen, so you will be able to recognize whether someone has locked or unlocked it.

* Please note that the display of "Unregistered users" before the account registration will not be switched.
If you use it at a company, please register/log in to the account, and if you share the key, your name will be displayed on the history screen, so please respond. I hope you will.
I'm very sorry, but there is a possibility that an error has occurred at the time of registration.
Please reset sesame once and try registration again.
(If the network is unstable, there is a possibility that an error may occur at the time of registration, so please try it when the smartphone is connected to a stable network).
1) Delete sesame you want to reset from the app
2) Press and hold a small hole without the lamp with a narrow one like a clip. 3) A blue lampUntil it turns offIf you keep pressing, the reset is completed.
* The red circle part of the image below is the reset hole.
If the blue LED light does not light up, check the direction of the battery and the connection.
* Precautions for reset *
When resetting, you have to press the reset button with a clip or SIM pin, but if you use a sharp needle or press too deep, it will cause a failure.
Press gently until you hear a click.

Final update -2022.10.13 Kobayashi
Even if the app is opened, there is a sign that turns around on the registrant list, contact or history screen,
If the information is not displayed, please check the following items once.


① Is the smartphone currently connected to the network (WiFi or mobile communication)?
When the network is unstable, there is a high possibility that the above symptoms will appear.
② If your account is registered,
Please log out once and try logging in again.
If you swipe the screen on the screen below, you will get a "log out".

Please note that the owner authority is overwritten in the following cases, and there is a possibility that it may be a manager guest authority.
① If the owner scan the QR code of the manager key / guest key
② If you share the manager key / guest key to the device that logs in the owner's account
③ If you log in your owner's account with a smartphone shared by the manager key
If you want to register as the owner again, you need to reset the sesame once.
Click here for the reset method
Final update -2022.10.14 Kobayashi
Regarding the remaining battery level of our Sesame Mart lock, the battery used like a normal smartphone does not decrease, but the battery level is increased and lower depending on the voltage.
Therefore, if you use it many times at once, the voltage of the surface will be temporarily lowered and the battery level may be displayed low. However, if you just spend a little time, the voltage of the surface will be uniform and the battery level will be restored.
In addition, in order to apply a small battery level to the main unit, the main unit is loaded and the damage to the hardware is applied to the hardware. is. If the battery level is 40%or less, please replace the battery as soon as possible.
Regarding the remaining battery level of our Sesame Mart Lock, the battery used like a normal smartphone is not reduced, but the specification is displayed based on the voltage.
For this reason, the battery level may be 100 % after a while after the use of sesami, but it is normal because it has a voltage -based specification. Please be assured.
As a result of the indoor test, 5000 actions can be operated by batteries (2 pieces), so it has confirmed that it can operate about 500 days even if it is operated 10 times a day.
However, it is affected by the weight of the thumb attached, the surrounding temperature, frequency of use, etc., so please note that it can be used for 500 days.
The heavier the force applied when unlocking and locking the thumb turn using sesami, the faster the battery is consumed.
In addition, sesami 3 is a specification that automatically stops when the battery level is 30 %, in order to apply a load on the main unit by running with a small battery level and avoid damage to the hardware.
If the battery level is 40 % or less, please replace the battery as soon as possible.
Even if you change your smartphone model, can you continue to use Sesame devices by logging in at the email address registered in the sesame app?
① Please check the old smartphone if you have logged in to the app in advance.
② Download the sesame app on the new smartphone
(3) Enter the same email address in the downloaded application and enter the 4 -digit of the certified code you received, so please use the previously registered sesame information, so please use it as it is.
If you want to change your email address, please delete and reset the main unit once.
After logging in with a new email address, you need to register sesame again.
(Please note that old email addresses cannot be deleted.)
The meaning of the Bluetooth mark and the Wifi mark on the sesame list screen is as follows.
1. A state in which operations can be operated by Bluetooth connection
(Sesame's Bluetooth mark (red frame) is green lighting)

2. A state in which operations can be operated by connecting via WiFi module
(Both sesame WiFi mark (red frame) and WiFi module WiFi mark (red frame) are light lit in green)
If the WiFi module and your WiFi router can be connected normally, the Wifi mark of the WiFi module will light up.
Also, if the wifi module and sesame are connected normally, the sesame Wifi mark will light up.

If the history of manual operation is displayed continuously on the history screen, even though the sesame is not rotated, this sensor bray may be the cause.
If the sensor blurring is the cause, it may be improved by the following method, so I would be happy if you could try it.
There are two small screws on the back side of the sesame body knob. There are some gaps of the sensor generated in the manufacturing process here.
When this screw position interferes with the internal sensor reading part, the display on the application may shift. Sesame knobs180 ° rotationIt will be resolved by letting it, so please try it.
* The following is an image of Sesame MINI, but the same is true for sesame 3 and 4.
①Remove the sesame body from the door and the screw position on the back (red circle)Confirm
②Rotate sesame knobs and screw the screw position so that you do not interfere with the locking position of your key.180 degreesLet me do it.
After that, I would be grateful if you could reset the angle again.
Also, if you do not improve even if you try the above,
Sorry to trouble you at our company once.The following informationsesame@candyhouse.co Please contact us.
(Automatic reply will be sent after a few minutes. If the automatic reply is not reached, please send it again from the domain permission or a different email address.)
・Sesame appRegistered email address
・ Screenshot of the purchase statement (one that shows the name, type of body and color)
・Before and after changing the angle setting,Sesame settings The screenshot of the locked/unlocked screen of the sesame app that shows the angle
Sesami corresponds to various keys, so there are some "play" in the rotation of the thumb turn.
Therefore, depending on the type and condition of the key you are using, there may be a gap between the app and the manual operation.
This may be improved by the following setting method, so can you try it?
① Sesame setting screen > Configuration of angle > Reset the position of unlocking
② From the key open state, the actualInsert the keyLock> In the appThe position of unlockingResetting
③ Sesame knobTurn manually, Unlock>Unlocking positionSet> Completion

(The photo is Sesami mini, but Sesami MINI and Sesami 3 and 4 are the same dimensions.)
Also, depending on the type of thumb turn, it may be improved by creating an adapter, so please feel free to contact us once.♪
Are you very inconvenient because you can't find a hand -handed unlocking setting item.
Emale hand -handed setting itemsCurrently under "Delete this sesame".
[IOS]

[Android]

① Open the "Shortcut" app

② "Automation"> "Create personal automation"

③ Scroll down and tap "NFC"

④ After tapping the "Scan", hold the smartphone over the NFC tag

⑤ Name the NFC tag

⑥ "Add action"> "App"> Select sesame app

⑦ Tap "Name" andSesame app![]() Give the same name as the registered name in
Give the same name as the registered name in

⑧ Turn off "Ask before execution"

⑨ This is done.

① Open the sesame app
② Select the sesame connected to the NFC tag, tap "..." on the upper right, and open the setting screen.

③ With the screen below, hold the smartphone over the NFC tag seal and the characters are entered in the NFC column!

If the character is not displayed even if you hold the smartphone over the NFC tag seal, please check and try the following once.
・ Is the NFC function of the smartphone set ON?
・ Uninstall / reinstall sesame app
(Please register your account in advance. After reinstalling, log in will be displayed.)
* If you want to open and close multiple keys, such as double locks, with NFC tags at the same time,
It is possible by making another step with another sesame.
( * NFC tags should be the same)
Close the app and try it out!
* If you hold the NFC tag and the "Select Application" screen is displayed, select the sesame app and set it at all times.
Final update -2023.10.3 Kobayashi
In the following procedure, it can be solved by erasing and initializing the NFC seal.
① Download the Android app called NFC Tools.
https://play.google.com/store/apps/details?id=com.wakdev.wdnfc
② Erase the NFC seal and initialize it.
③ Open the sesame app setting page again and hold it over the NFC seal.
Please try and check the following.
① Make sure to touch the NFC tag Since the location of the NFC tag of the smartphone is limited, please be sure to touch the location. ( * Please note that iOS depends on the upper side of the model and the Android varies depending on the smartphone.)
( * In the case of iOS) NFC reading position

( * For Android Example: Galaxy S20 ULTRA 5g) ↓ NFC reading position

↑ The reading position of Andoroid varies depending on the model, so please check each.
② Unlock your smartphone
If the smartphone is locked, the NFC tag will not respond, so please try it once the smartphone lock is released.
( * Depending on the terminal, it may also work on the widget screen.)
 ③ Remove the smartphone case
If you have a smartphone case, it may be difficult to respond. Please try with the case removed.
④Please allow location information to the sesame app on the Android device.
③ Remove the smartphone case
If you have a smartphone case, it may be difficult to respond. Please try with the case removed.
④Please allow location information to the sesame app on the Android device.
Because it is necessary to turn on the location information when using Bluetooth.
⑤ Please try restarting your smartphone. ⑥ Update your smartphone OS ⑦ Update sesame apps up to date
The NFC tags bundled by our company are strong on metal doors.
Also, please be assured that it is waterproof.
Please try the settings by the following procedure.
(Please do it with the sesame device and the Wi-Fi module connected.)
① On the device screen of Alexa AppTap "Smart Home Skills".

2024/3/5 Postscript: If you are using the latest version of Alexa app, tap "Skill Game" from the "Other" tab

② Tap "Enable Smart Home Skills".
2024/3/5 Postscript: If you are using the latest version of Alexa app, please go through this step

③「Select "Sesami app".
(Please check the icon so that you do not select the old sesame app. If you can not find a new sesame app, search for "sesami" from the search for smart home skills and select the following key mark application. )

2024/3/5 Postscript: If you are using the latest version of Alexa app, search for "Sesami" and select the following sesame app.


④「Tap "Enable".

⑤ Enter the currently registered sesame account and log in (after entering the email address, receive the authentication code)

⑥ Tap "Detect the terminal".

⑦ Detect the device.

When the detection is completed, if the wifi module currently registered in the sesamia count and the paired device are detected, "" "Tap next.

⑧ Set up the detected device one by one.

> Setup is completed (Sesami is classified as "lock" and sesame bot is "switch".)

⑨ Finally, if the lock release function is set on,Completed.
When setting lock unlocking by voice, it is necessary to set a 4 -digit confirmation code.

In the case of Sesame, tell Alexa, "Open Alexa! (Sesame name of the registered sesami)/unlock it!" Please try unlocking and locking?
At the time of unlocking, Alexa will be asked for the confirmation code, so please answer the confirmation code you have set. ??
Also, in the case of Sesame Bot, please talk to Alexa, "Alexa! ??
In the Alexa app, in cooperation with the sesame account, the screen is detected, but the device to be connected is detected,
If the screen is "I couldn't find a new device" as shown below, please check the following items once.

① Is your registered sesame device a guest authority?
(It can be detected only if the authority is the owner or manager.)
(2) Because the registered sesame device and the e -mail address of your use may not be well linked,Please log out once and try logging in again.
(If the sesame device disappears after re -login, please reset the relevant sesame device and try to register as a new device again.)
③ The device may have already been registered.
Please check once, as the registered device will not be detected again unless you delete the device.
Please try the settings by the following procedure. (Please do it with the sesame device and the Wi-Fi module connected.)
① Tap the + on the upper left on the Google Home app screen.
② Tap "Device Setup".
③ Select "List of Google".
④ Search for "Sesami" and select the following app.
(Please check the icon so that you do not select the old sesame app. If you can not find a new sesame app, search for "sesami" from the search for smart home skills and select the following key mark application. )
⑤ Enter the currently registered sesame account and log in (after entering the email address, receive the authentication code)

⑥ Currently working with the Wifi moduleOwner authorityThe sesame device with the sesame device is displayed, so select one of the displayed sesame devices.
⑦ Select a house

⑧ Select a place to use this device and complete the settings for sesame devices

⑨ Set the remaining sesame devices in the procedure of ⑥ to ⑧
⑩ When the registered device is displayed on the home screen of the app, all settings are completed.
Talk to Google Home, "OK Google, (Sesami's name), unlock locks", "OK Google, (name of Sesami)/Locks"! ??
In addition, the PIN code is required when unlocking on the Google Home side by specifications. Currently, we do not set the PIN code, so if you are looking for a PIN code, you can unlock it if you call for your favorite numbers. ? ♀️
Final update -2022.12.21 Kobayashi
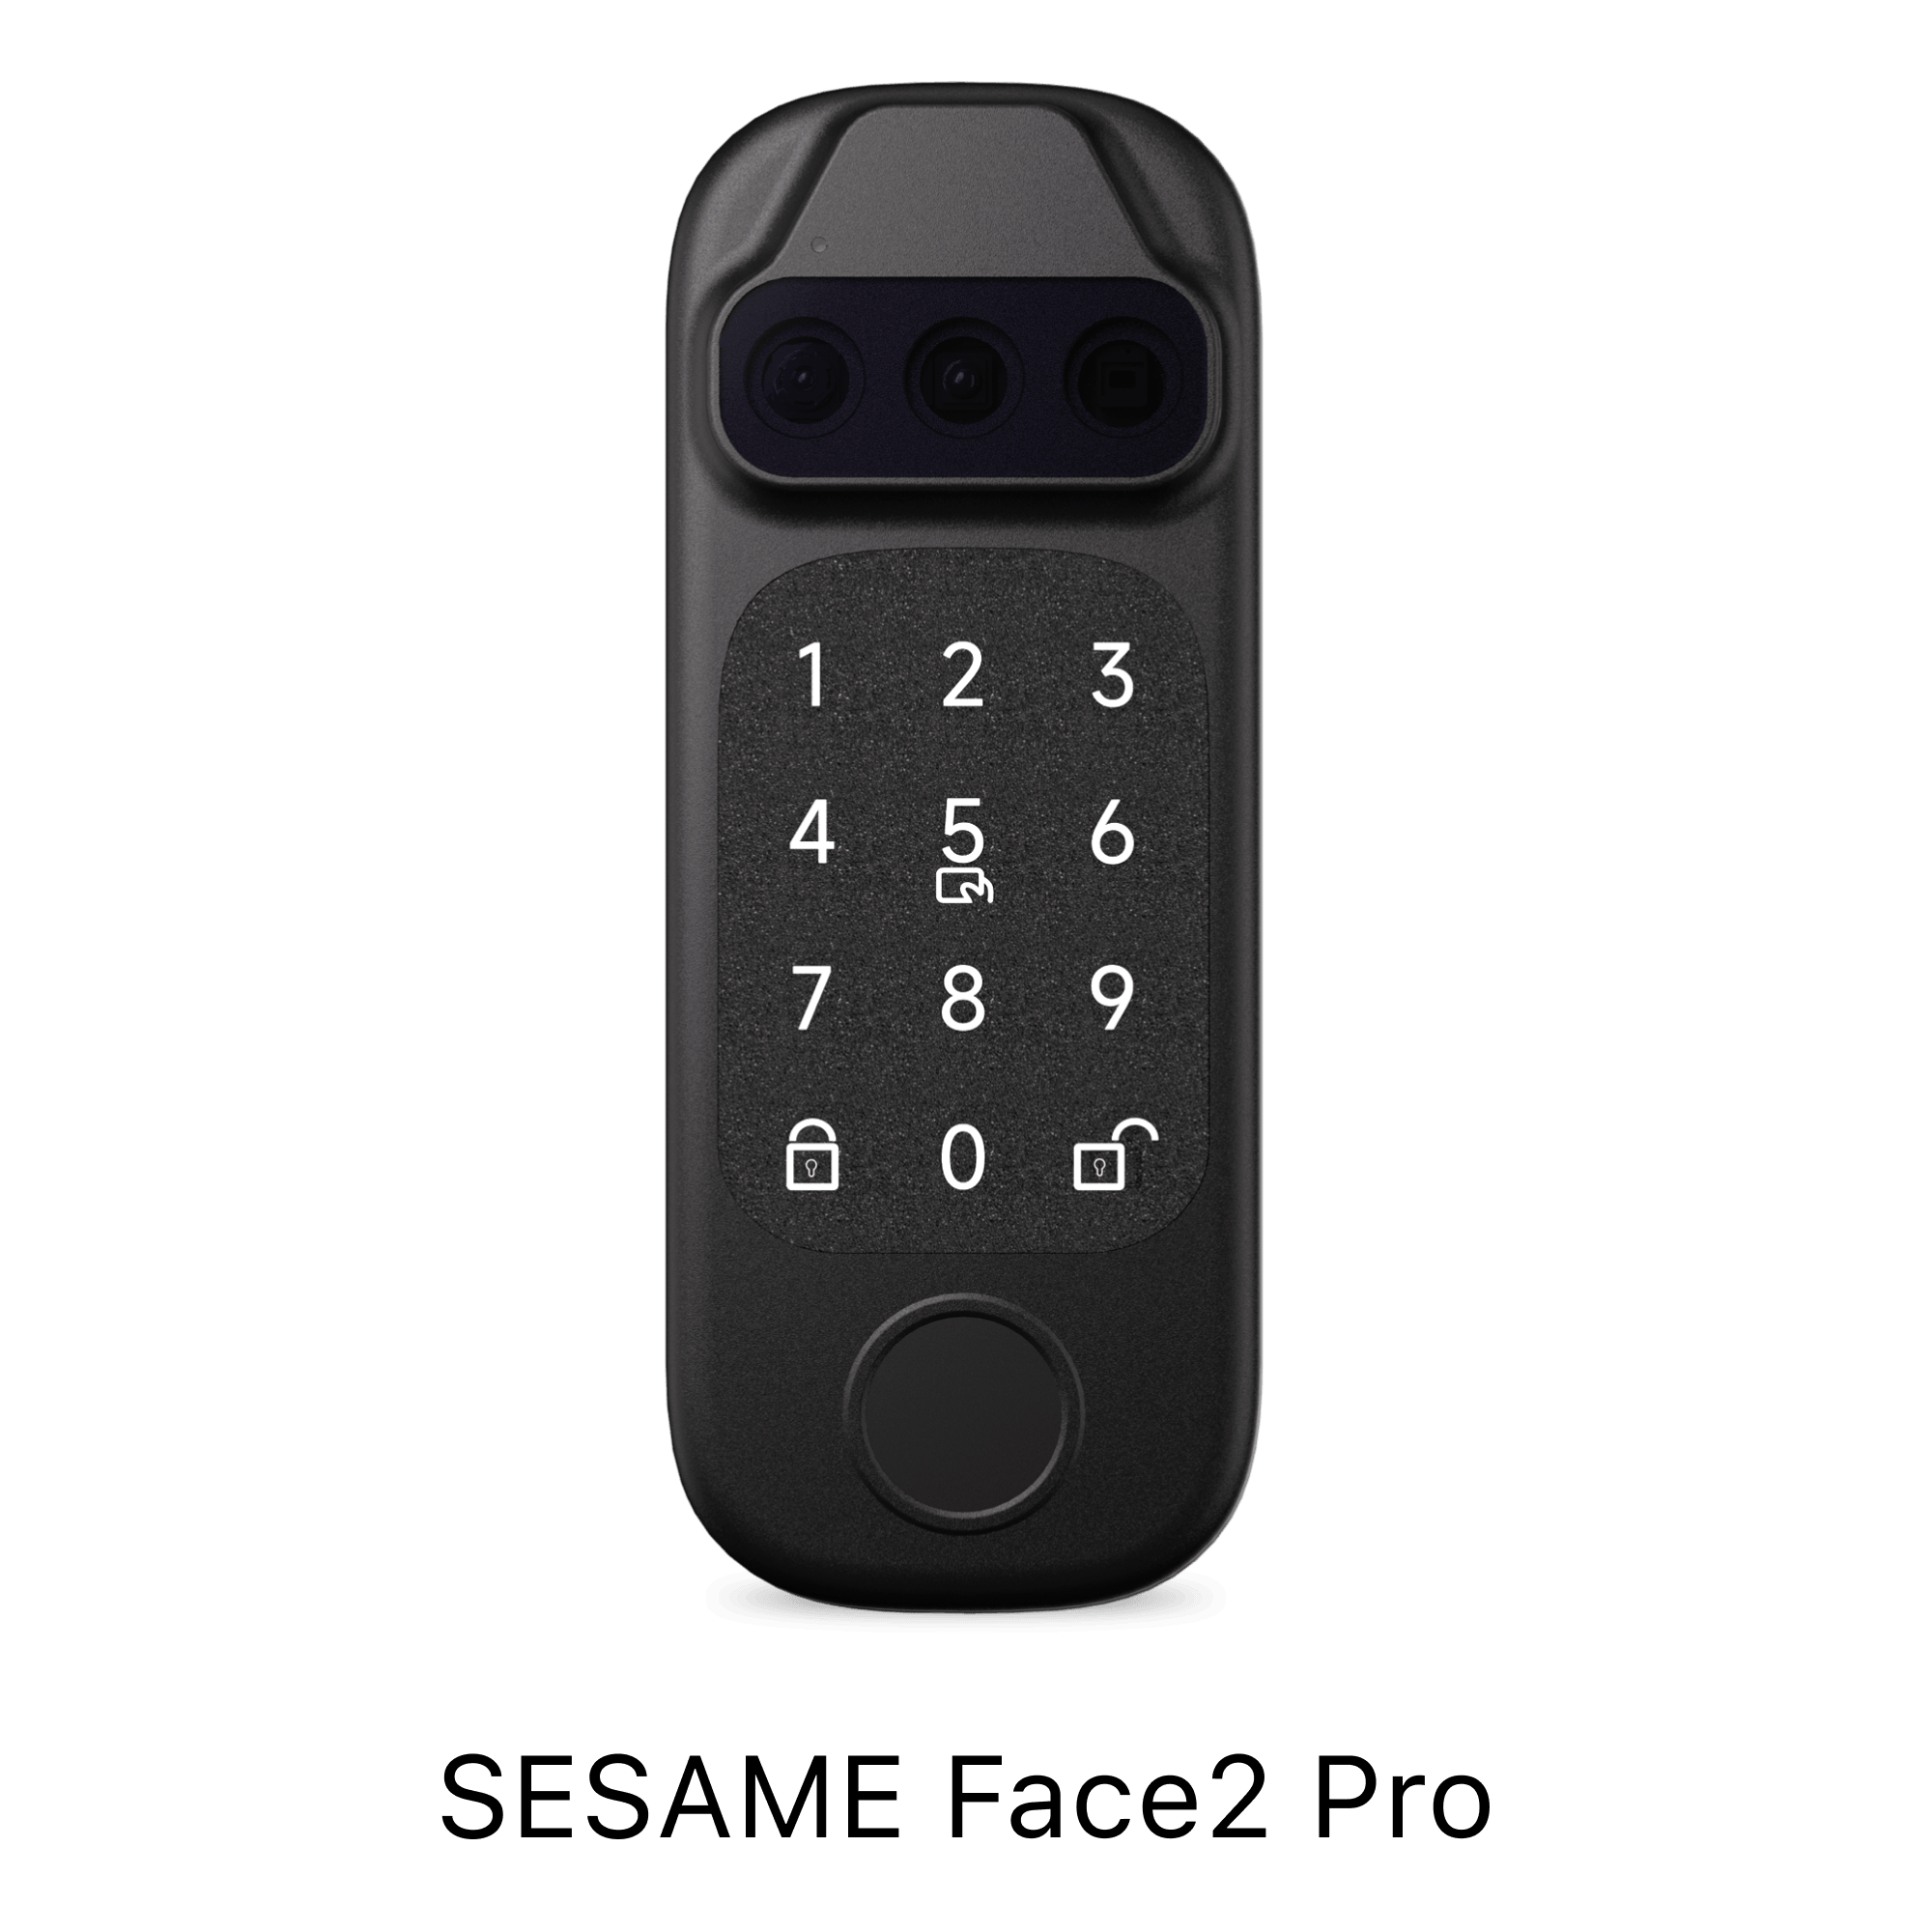
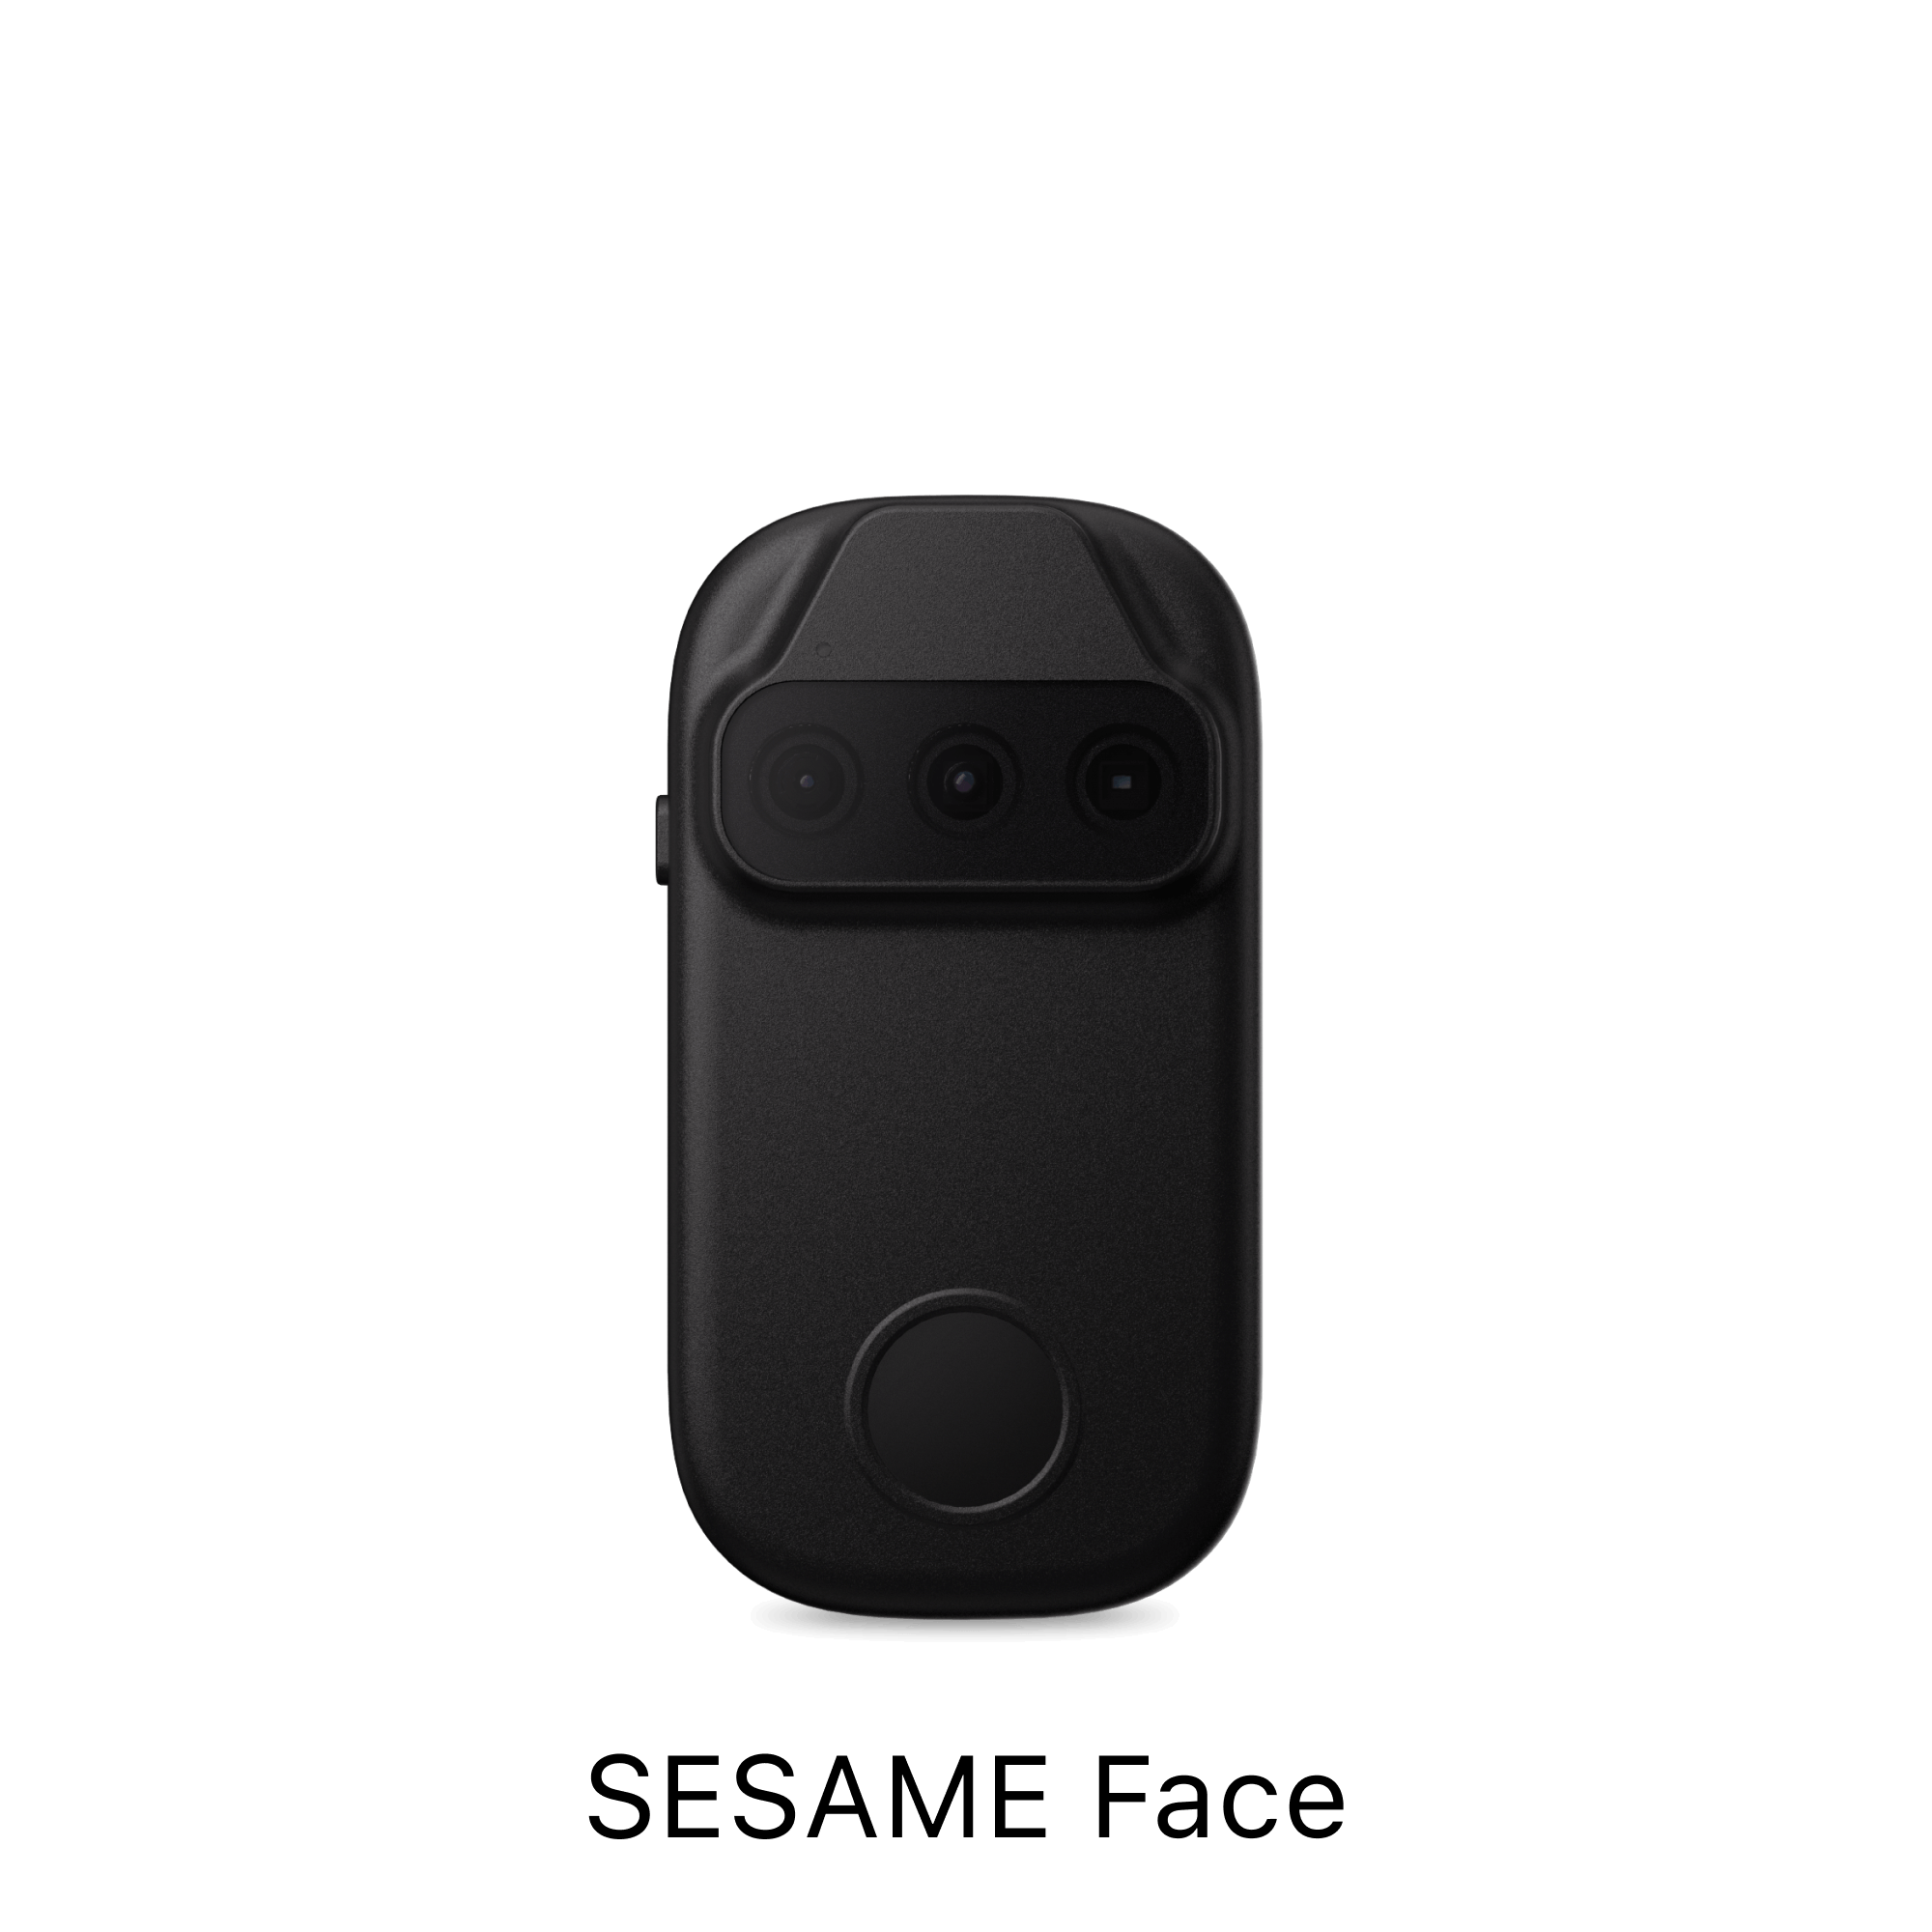
⚠️。 Before installing sesame touch/touch Pro, complete the registration of sesame touch/touch pro from the sesame app.
⚠️ After completing the cooperation with sesame, checking that the operation with IC card, fingerprint authentication, and PIN is not a problem, then touched sesame/Touch ProPlease install.
⚠️ If you have registered your account in the app, check the login state and touch sesame./Touch ProPlease register.
If you haven't downloaded the sesame app yet, please download the app here.
SESAME OS2

① Press the + mark on the upper right and register the sesame touch/touch Pro from "New Device".

② Sesame touch/Touch Pro register

③ Tap the registered sesame touch/touch Pro, and register the IC card or fingerprint or PIN from the setting screen.
How to register an IC card
How to register the IC card of Sesame TouchHere
How to register the IC card of Sesame Touch ProHere
How to register your fingerprint
How to register for fingerprints of sesamoto touchHere
How to register the fingerprint of Sesame Touch ProHere
How to register a PIN
How to register the PIN for Sesame Touch ProHere

④ Tap the + mark on the upper right, then

Hold the IC card over the sesame touch/touch pro main body under the screen below/Apply the button of the sesame touch with the finger to register the fingerprint, the sound reacts, and the registered card and fingerprint appear on the setting screen. When it comes, it's done.


Press the registered number with the keypad, then press the unlocking button at the lower right of the sesame touch Pro main, register the PIN, and when the PIN appears on the screen, the registration is completed.

⑤ Tap "Add Sesame" and select the sesame you want to pair and link.
(When pairing with sesame 3 and 4, please pair with both devices at the latest distance.)

This is done!

When resetting, press the reset button with a clip or SIM pin,
If you use a sharp needle or press too much, it will cause a failure.
Press gently until it makes a click.


When resetting, press the reset button with a clip or SIM pin,
If you use a sharp needle or press too much, it will cause a failure.
Press gently until it makes a click.
There is no problem with registering with a physical card, but if you cannot register an IC card in a mobile Suica/PASMO or a smartphone with a sesame touch/touch Pro, please check the following contents once.
[IOS]
Please make sure that this Suica's Express setting is set on once
About setting of Express card
https://apfaq.mobilesuica.com/faq/show/1507?site_domain=default
[Android]
Please check once if you have set this main card✊
About main card settings
https://id-credit.com/support/smt/card_change.html
Some Android smartphones use the smartphone as an IC card with sesame touch/touch Pro.
How to registerThis videoBut are you introduced.
The compatible models are currently being confirmed as follows.
○ Correspondence
Pixel7
X -non -compatible
Galaxy
The display of the battery level of the scalp touch/touch pro is not the device list screen, but the setting screen of each device, and if the device is connected to the sesame app with Bluetooth, the battery remaining is specification. Is it ??

Operate sesame 3.4 with sesame touch/touch ProWhen you are unlocked, you will be notified to Sesame 3 and 4 when you try to unlock it again from the sesame touch/touch pro, or to re -lock it again when you are locking. The history of unlocking or locking via sesame touch/touch Pro remains continuously.
Operate Sesame 5 with Sesame Touch/Touch ProEven if you try to unlock it again from the sesame touch/touch Pro in the same unlocking state as above, or try to lock it again when you are locking.Sesame 5 is to reduce power consumptionEven if there is the same unlocking or locking instruction from the state of unlocking, locking, the notification or history is not updated. Please be assured that this is not a problem.☺️
If the registered fingerprint, IC card, and PIN information cannot be viewed from the setting screen, the smartphone app and the sesame touch/touch Pro may be outside the Bluetooth connection range.⚡️
Sesame touch/touch pro has a specification that allows you to check the registered fingerprint, IC card, and PIN when you are within the smartphone app and the Bluetooth connection range, so it is within the Bluetooth connection range. Please check again with the sesame touch/touch pro main body.
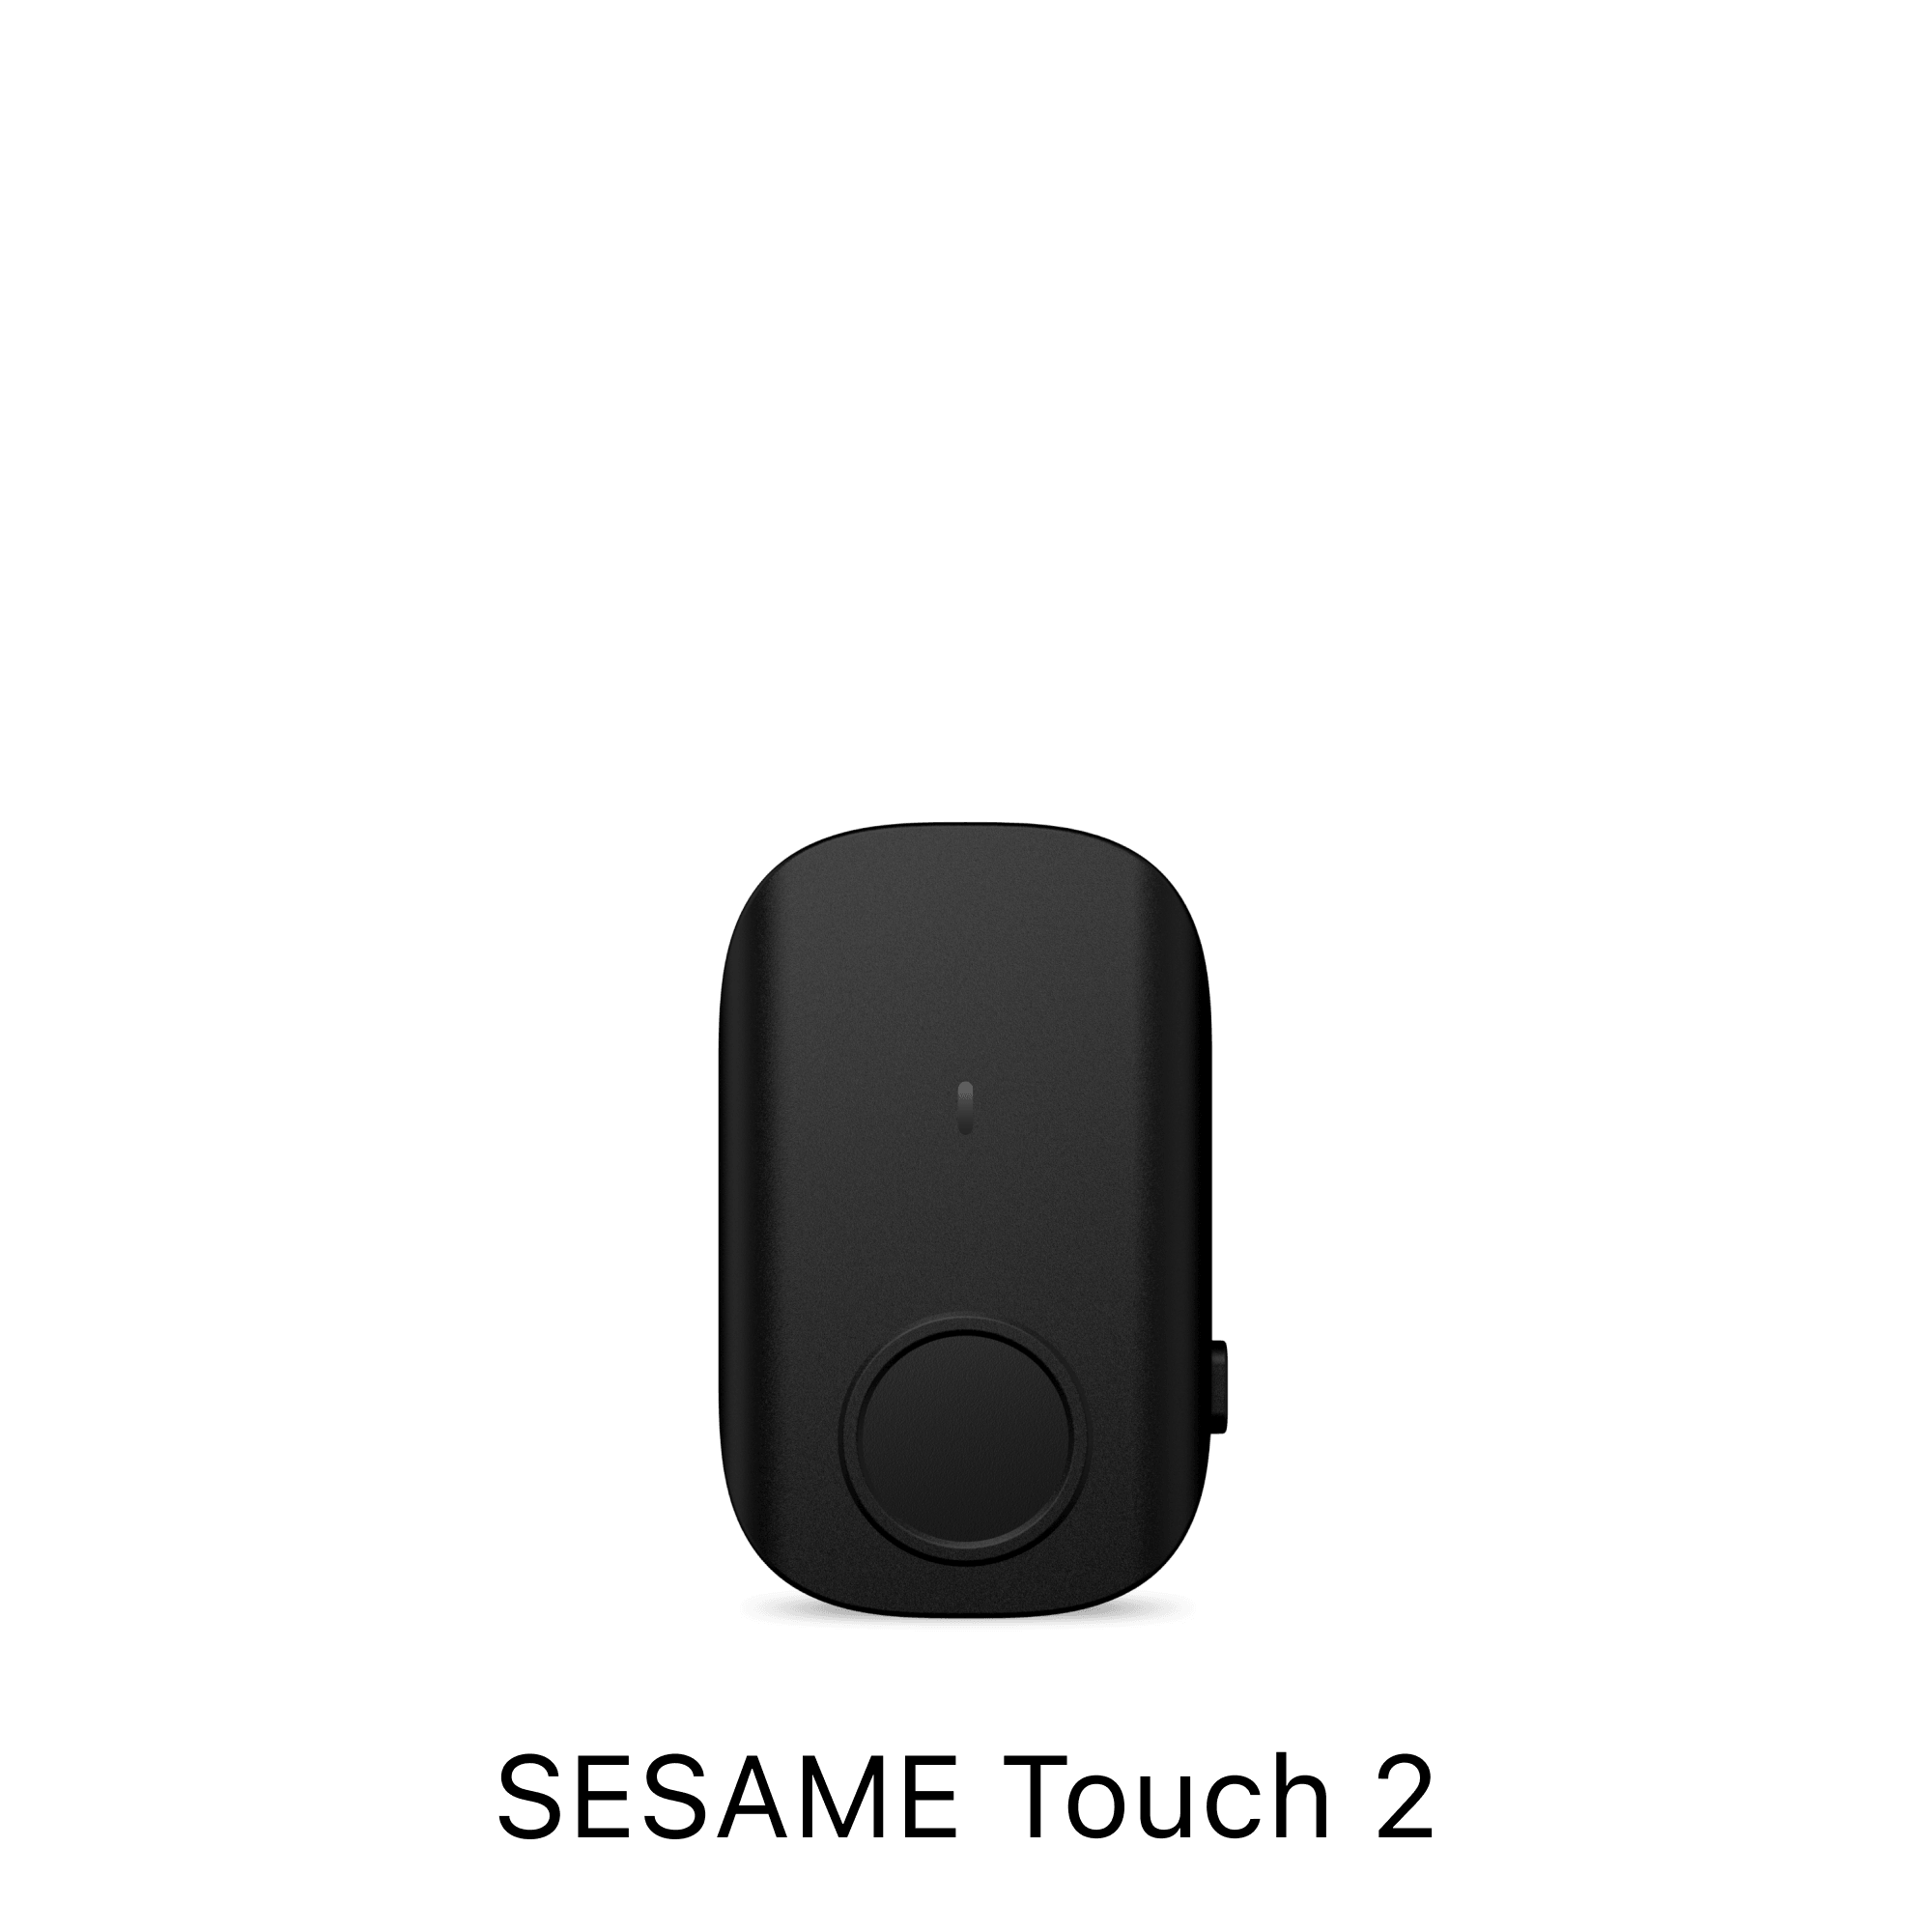
Sesame touch
🔓Unlocking
IC card: possible
Fingerprint: possible (when matched with registered fingerprint)
🔐locking
IC card: Not possible
Fingerprint: possible (if it does not match the registered fingerprint)
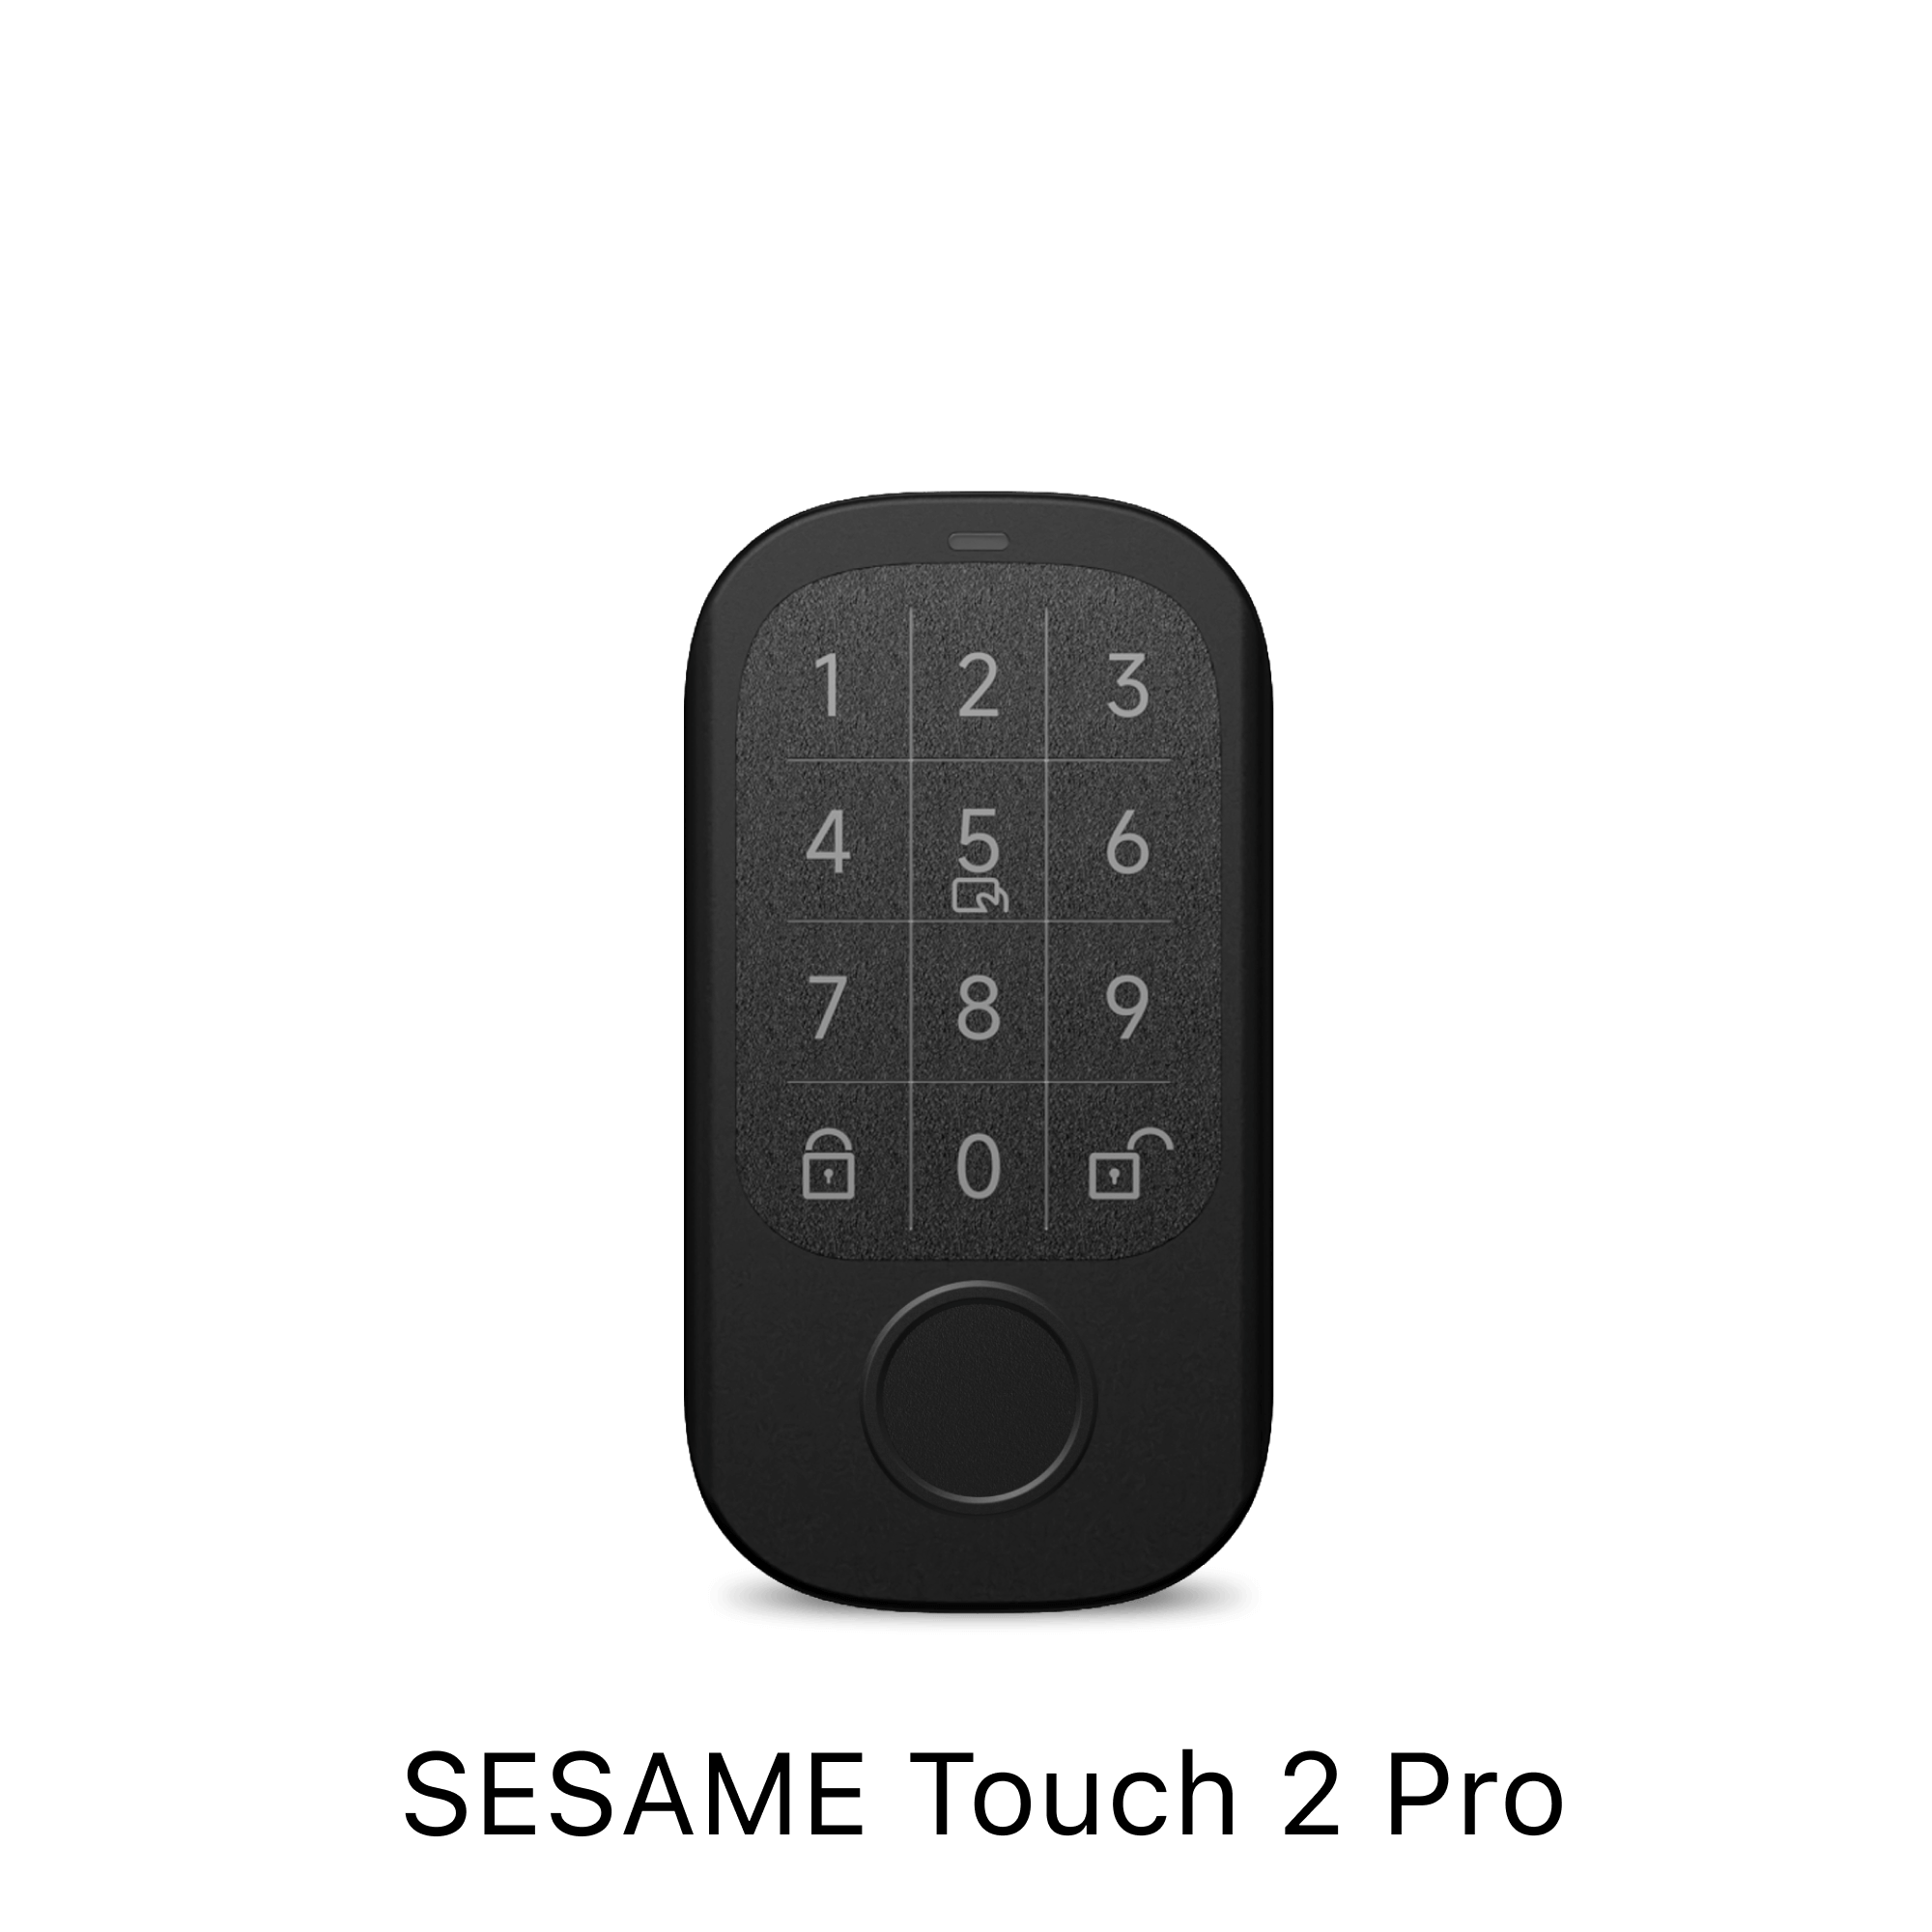
Sesame Touch Pro
🔓Unlocking
IC card: possible
Fingerprint: possible (when matched with registered fingerprint)
PIN: After entering the PIN, press the unlocking button to unlock it.
🔐locking
IC card: Not possible
Fingerprint: Not possible (changed due to 6/22 updates)
PIN: Lock can be applied simply by pressing the locking button
If the lid of the sesame touch/touch Pro cannot be removed, try removal as shown in the following video.
>Can I remove the lid of the sesame touch?
>Can I remove the lid of Sesame Touch Pro?
Is the screws that do not come off the lid?
First, loosen the screws, fix the sesame touch/touch Pro body by hand, lift the lid from the root of the screw with tweezers and remove it.
[About the new slide battery cover]
This new slide battery cover is included from the shipment on August 15, so please install and use it in the following procedure.
It is also explained in the following video
>How to attach a new slide cover
1. If the new slide battery cover is included, remove the original lid in the above procedure, and then use the right slide cover.
2. The slide cover can slide downward as shown below, so remove all the outer cover with 3m.

3. Fix the battery cover (those who do not have a 3M tape) to the main unit with screws, slide the slide cover (those with 3M tape) from below, return them, and complete.

4. After removing the 3M tape and attaching it to the wall, when replacing or resetting the battery, slide it upward as shown below, so that the battery is easily replaced and reset without peeling the 3M tape again. You can☺️?

(postscript)
If you want to remove the battery cover due to battery replacement or reset, you can remove the lid as follows.
The following video is also explained.
>How to remove the new battery cover
Remove the two screws in the battery cover in advance.
(In case of state before installing on the wall)
With half the slide cover slid and installed on the battery cover, lift it upward to remove the battery cover?

(If the slide cover is already installed on the wall)
If the slide cover is installed on the battery cover as shown in (1), and if the body is pulled forward as it is, the battery hippo will be removed from the main unit?
It is possible to support Sesame 3/4/5/5pro/5USA.
* Please note that the first sesame/sesame mini will be out of the support.
IC cards equipped with FeliCa / mifare are possible.
Example: Suica/Pasmo/nanaco/WAON/edy/mifare employee cards, tags, etc.
Apple's AirTag is also available!
In addition, commercially available NFC cards and NFC tags can basically be available,
Please note that Type-B standard NFC cards (EX: passport, driver's license, basic resident ledger card, My Number card, etc.) will be out of response.
Sesame touch/pro is sesameTwoIt is possible to cooperate with.
In addition, the sesame app is made by the sesame appTouch/Pro2By cooperating with the sesame of the stand,
Fingerprint, ICWith a card or PIN (Pro only)2It is possible to unlock the sesame of the table at the same time.
fingerprint,It is also possible to lock two sesame at the same time from the lock button of the sesame touch Pro.
yes. If the same IC card is registered on your smartphone or your smart watch, you can unlock it over a smartphone or smartwatch instead of the card itself.
(Mobile Suica, Mobile PASMO, etc.)
What are the types of IC cards?HerePlease check.
- Rematch fingerprint registration
At the time of fingerprint registration, holding down the finger at a different angle may improve authentication accuracy. When you redo registration, hold your finger at multiple angles and register as wide as possible fingerprint information. - Change the finger to register
Try fingerprint authentication with fingers other than your thumb. Other fingers, such as middle fingers and ring fingers, can work well with other fingers. - Wash your hands and dry
If your hands are dirty or wet, your fingerprint authentication may not work. After washing your hands and drying, try authentication again.
Even if you want to register with other people's fingerprints and cards in the Sesame touch/touch Pro and use it together, you can use it with one smartphone, so it can be used to others.Management screen share is not required。
If you share the management screen, you can register/delete/browse fingerprints, cards, and PIN, and share the management screen again, so you can share the management screen if necessary.
The authentication sound of the sesame touch/touch Pro has been improved and has the following specifications.
If the authentication sound does not sound like this, please update the sesame touch/touch Pro to the latest OS before checking again✨
・ When the authentication is successful, it sounds twice with "Pippit"
・ When the authentication fails, it sounds once with "Pee"
Will you inform you about new updates?✨The authentication sound of Sesami Touch (Pro) has been improved, and when the authentication is successful, has it sounded twice, and when the authentication failed✨This makes it easier to judge the success or failure of authentication. pic.twitter.com/qufhaxnu0z
- Sesame Mart Lock (@Candy_house_jp) JULY 11, 2023
Q: How much is the Bluetooth connection between sesami and sesame touch?
→ 10-15m. (Influenced the situation of obstacles)
Q: Is the backlight of the sesame touch Pro always on the line?
→ The backlight glows when you press the keypad.
Q: Can I use sesame touch on my battery -broken iPhone?
→ If the Express card with a preliminary power function is valid, it is possible!
Q: What is the weight of each sesame touch, touch Pro?
→ Sesame touch about 51g (3m tape, battery)
Sesame Touch Pro Approximately 101g (3m, 2 batteries)
Sesame Touch Pro Approximately 137g (No 3m, 4 batteries)
Q: Is there no problem installing it in a sunny place?
→ Recommended use temperature environment -20-55 degrees, recommended storage environment -40-70 degrees.
Q: Does it react with wet fingers?
→ It is highly likely that wet fingers will not respond.
Q: How many digits can I register for the PIN that I can register with Sesame Touch Pro?
→ It is possible to register from 1 digit to up to 16 digits.
If sesame touch/Pro does not operate even though it responds normally to fingerprint/IC card
Please try the following once.
・ Sesame touch/PRO and sesame pairing → re -pairing
(If the pairing is successful, you can hear the sound of "pip" from the sesame touch.)
・ If the distance between sesame touch/pro and sesame are far away, bring the distance closer
・ Update of Sesame OS
Also, I would be grateful if you could check the following pages once just in case.
https://jp.candyhouse.co/apps/help-center#hc-pro-67e1d986
2024/02/20 update
If the sesame touch reacts normally to the fingerprint, but no longer responds to the IC card.
Please try the following items once.
・ Update of Sesame Touch OS
* Even if it is already the latest version, please update the OS again.
If it will not be improved or recurs after updating the OS
Please contact our customer service (sesame@candyhouse.co) once.
Fingerprint authentication may differ depending on the age and fingerprint characteristics.
I would be grateful if you could try the following methods to improve the authentication accuracy once.
At the time of fingerprint registration, holding down the finger at a different angle may improve authentication accuracy. When you redo registration, hold your finger at multiple angles and register as wide as possible fingerprint information.
Try fingerprint authentication with fingers other than your thumb. Other fingers, such as middle fingers and ring fingers, can work well with other fingers.


①Tap the “+” icon at the top right and select “New Device” to begin registering the Open Sensor.

②Register the Open Sensor.

③On the next screen, tap “Add Sesame” and select either Sesame 5 or Hub 3 to pair with the Open Sensor.
Please note that the Open Sensor can only be paired with either a Sesame 5 or a Hub 3, not both.
If you would like the Open Sensor to work with Sesame 5 for door locking, please pair it only with Sesame 5.
If you wish to use the Open Sensor independently — for example, to detect the opening of a window or drawer — please pair it only with Hub 3.


⚠️ Important Notice:
Once you leave the setup screen, you will no longer be able to pair the Open Sensor with a new Sesame, change its name, or update its OS.
This limitation is in place to help conserve the Open Sensor’s battery.
If you need to pair with a different Sesame, remove a Sesame, rename the sensor, or update its OS,
you will need to perform a reset. We apologize for the inconvenience and appreciate your understanding.


<How to Reset>
2) Keep holding until the blue LED light turns off. This indicates the reset is complete.

When resetting, use a paperclip or SIM pin to press the reset button. Do not use sharp needles or press too deeply, as this may damage the device.
Please press gently until you hear a soft "click" sound to ensure a proper reset.
1. Use a thin object such as a paperclip to press and hold the small reset hole.
2. Keep holding until the blue LED light turns off. This indicates the reset is complete.
※ The reset hole is indicated by the red circle in the image below.
When resetting, use a paperclip or SIM pin to press the reset button.
Do not use sharp needles or press too deeply, as this may damage the device.
Please press gently until you hear a soft "click" sound to ensure a proper reset.
After registering the Open Sensor, it enters power-saving mode once you leave the settings screen. Because of this, even if you return to the settings screen, you will not be able to add or remove paired Sesame devices, nor update the OS.
Therefore, if you need to add/remove a paired Sesame or update the OS, please first delete the Open Sensor from the settings screen and then register it again.

When re-registering, select Open Sensor under New Device. You will enter the screen shown below.
Please stay on this screen and complete the Sesame pairing and OS update before leaving.
Once both processes are complete, it is safe to leave the settings screen.

Even if there is a gap between the door and the wall, the Open Sensor can be installed as long as the distance is within its detection range (22mm or less) ✨
It is also possible to install it as shown below.

Here’s how to use the auto-lock feature with the Open Sensor ☺️
In addition to the auto-lock function via the Open Sensor, there is also an explanation about using it together with the timer-based auto-lock feature of the Sesame device itself.
Please be sure to watch this video for details.
When using both the Open Sensor auto-lock and the Sesame device’s timer-based auto-lock together, the timer-based auto-lock is normally disabled while the door is open and will not activate after the set time.
However, if the timer-based auto-lock is set to a relatively short time (30 seconds or less), it may activate before the Open Sensor can communicate the door’s open/close status to the Sesame device.
We recommend increasing the timer-based auto-lock duration to see if this resolves the issue.
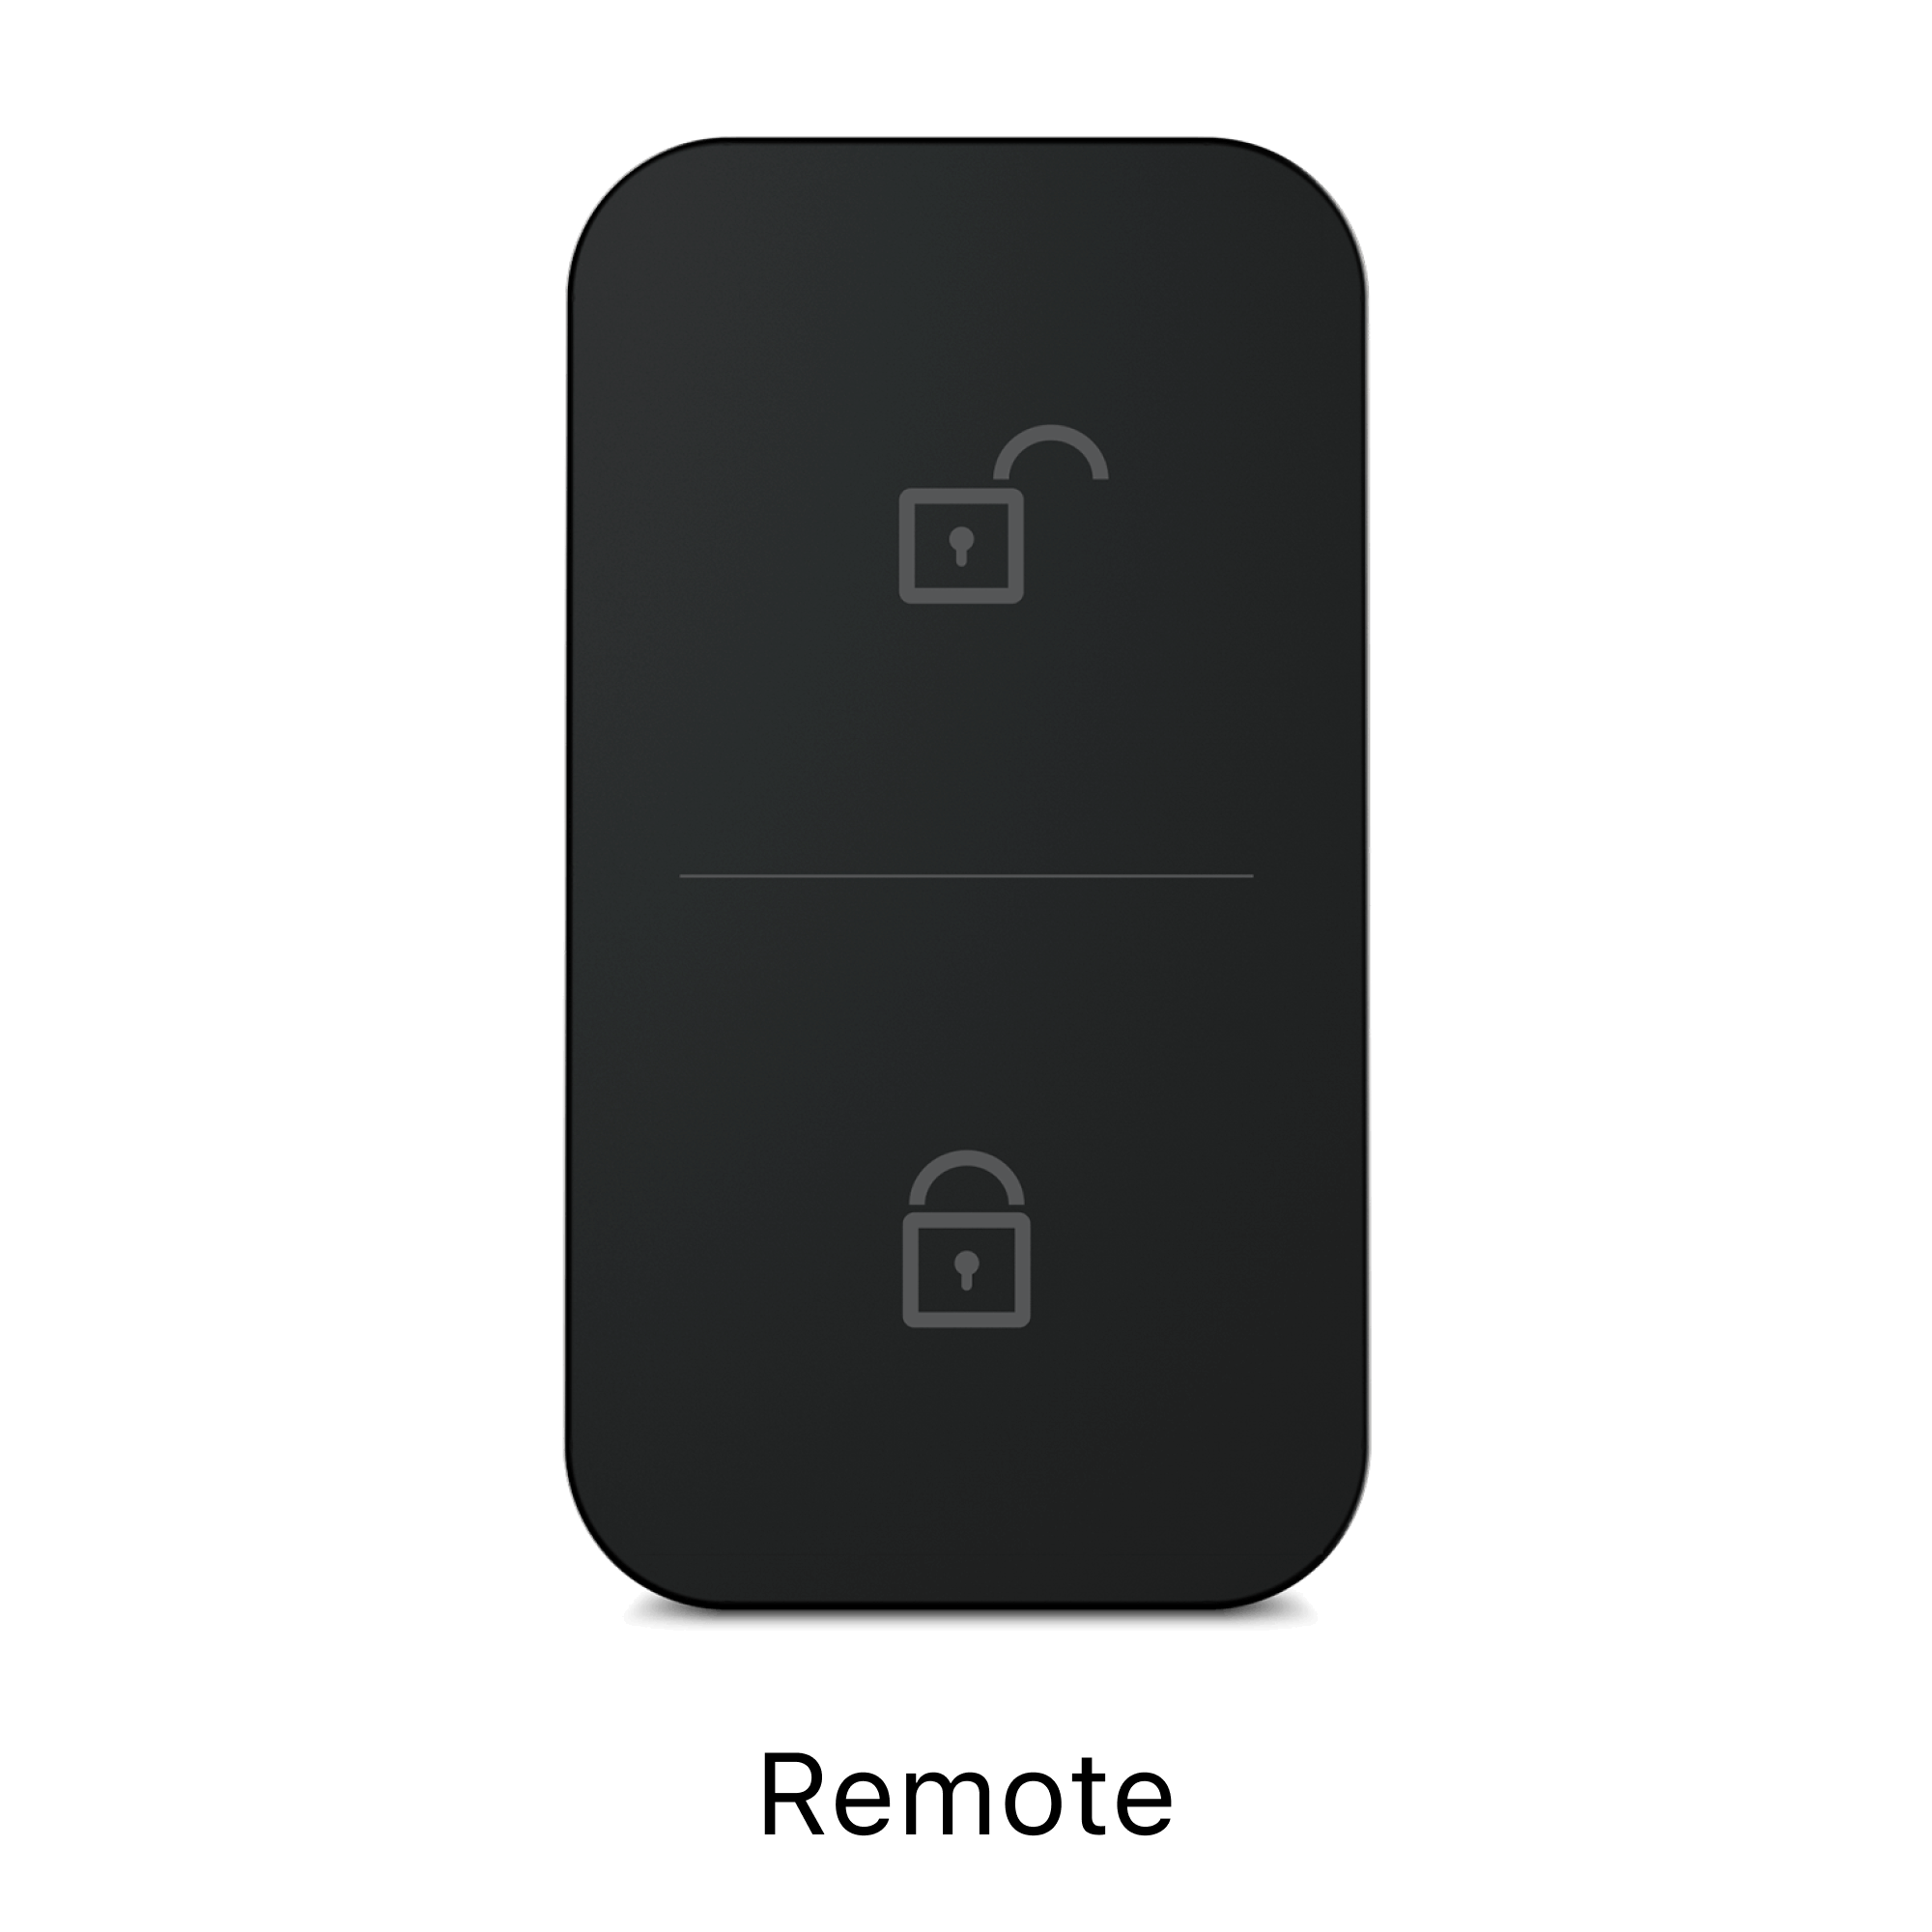
①Tap the "+" icon at the top right and select "New Device" to register your Remote.


②From this screen, tap "Add Sesame" and select the device you want to pair.
You can pair up to two devices, and only Sesame 5, 5Pro, and Cycle 2 are compatible for pairing.

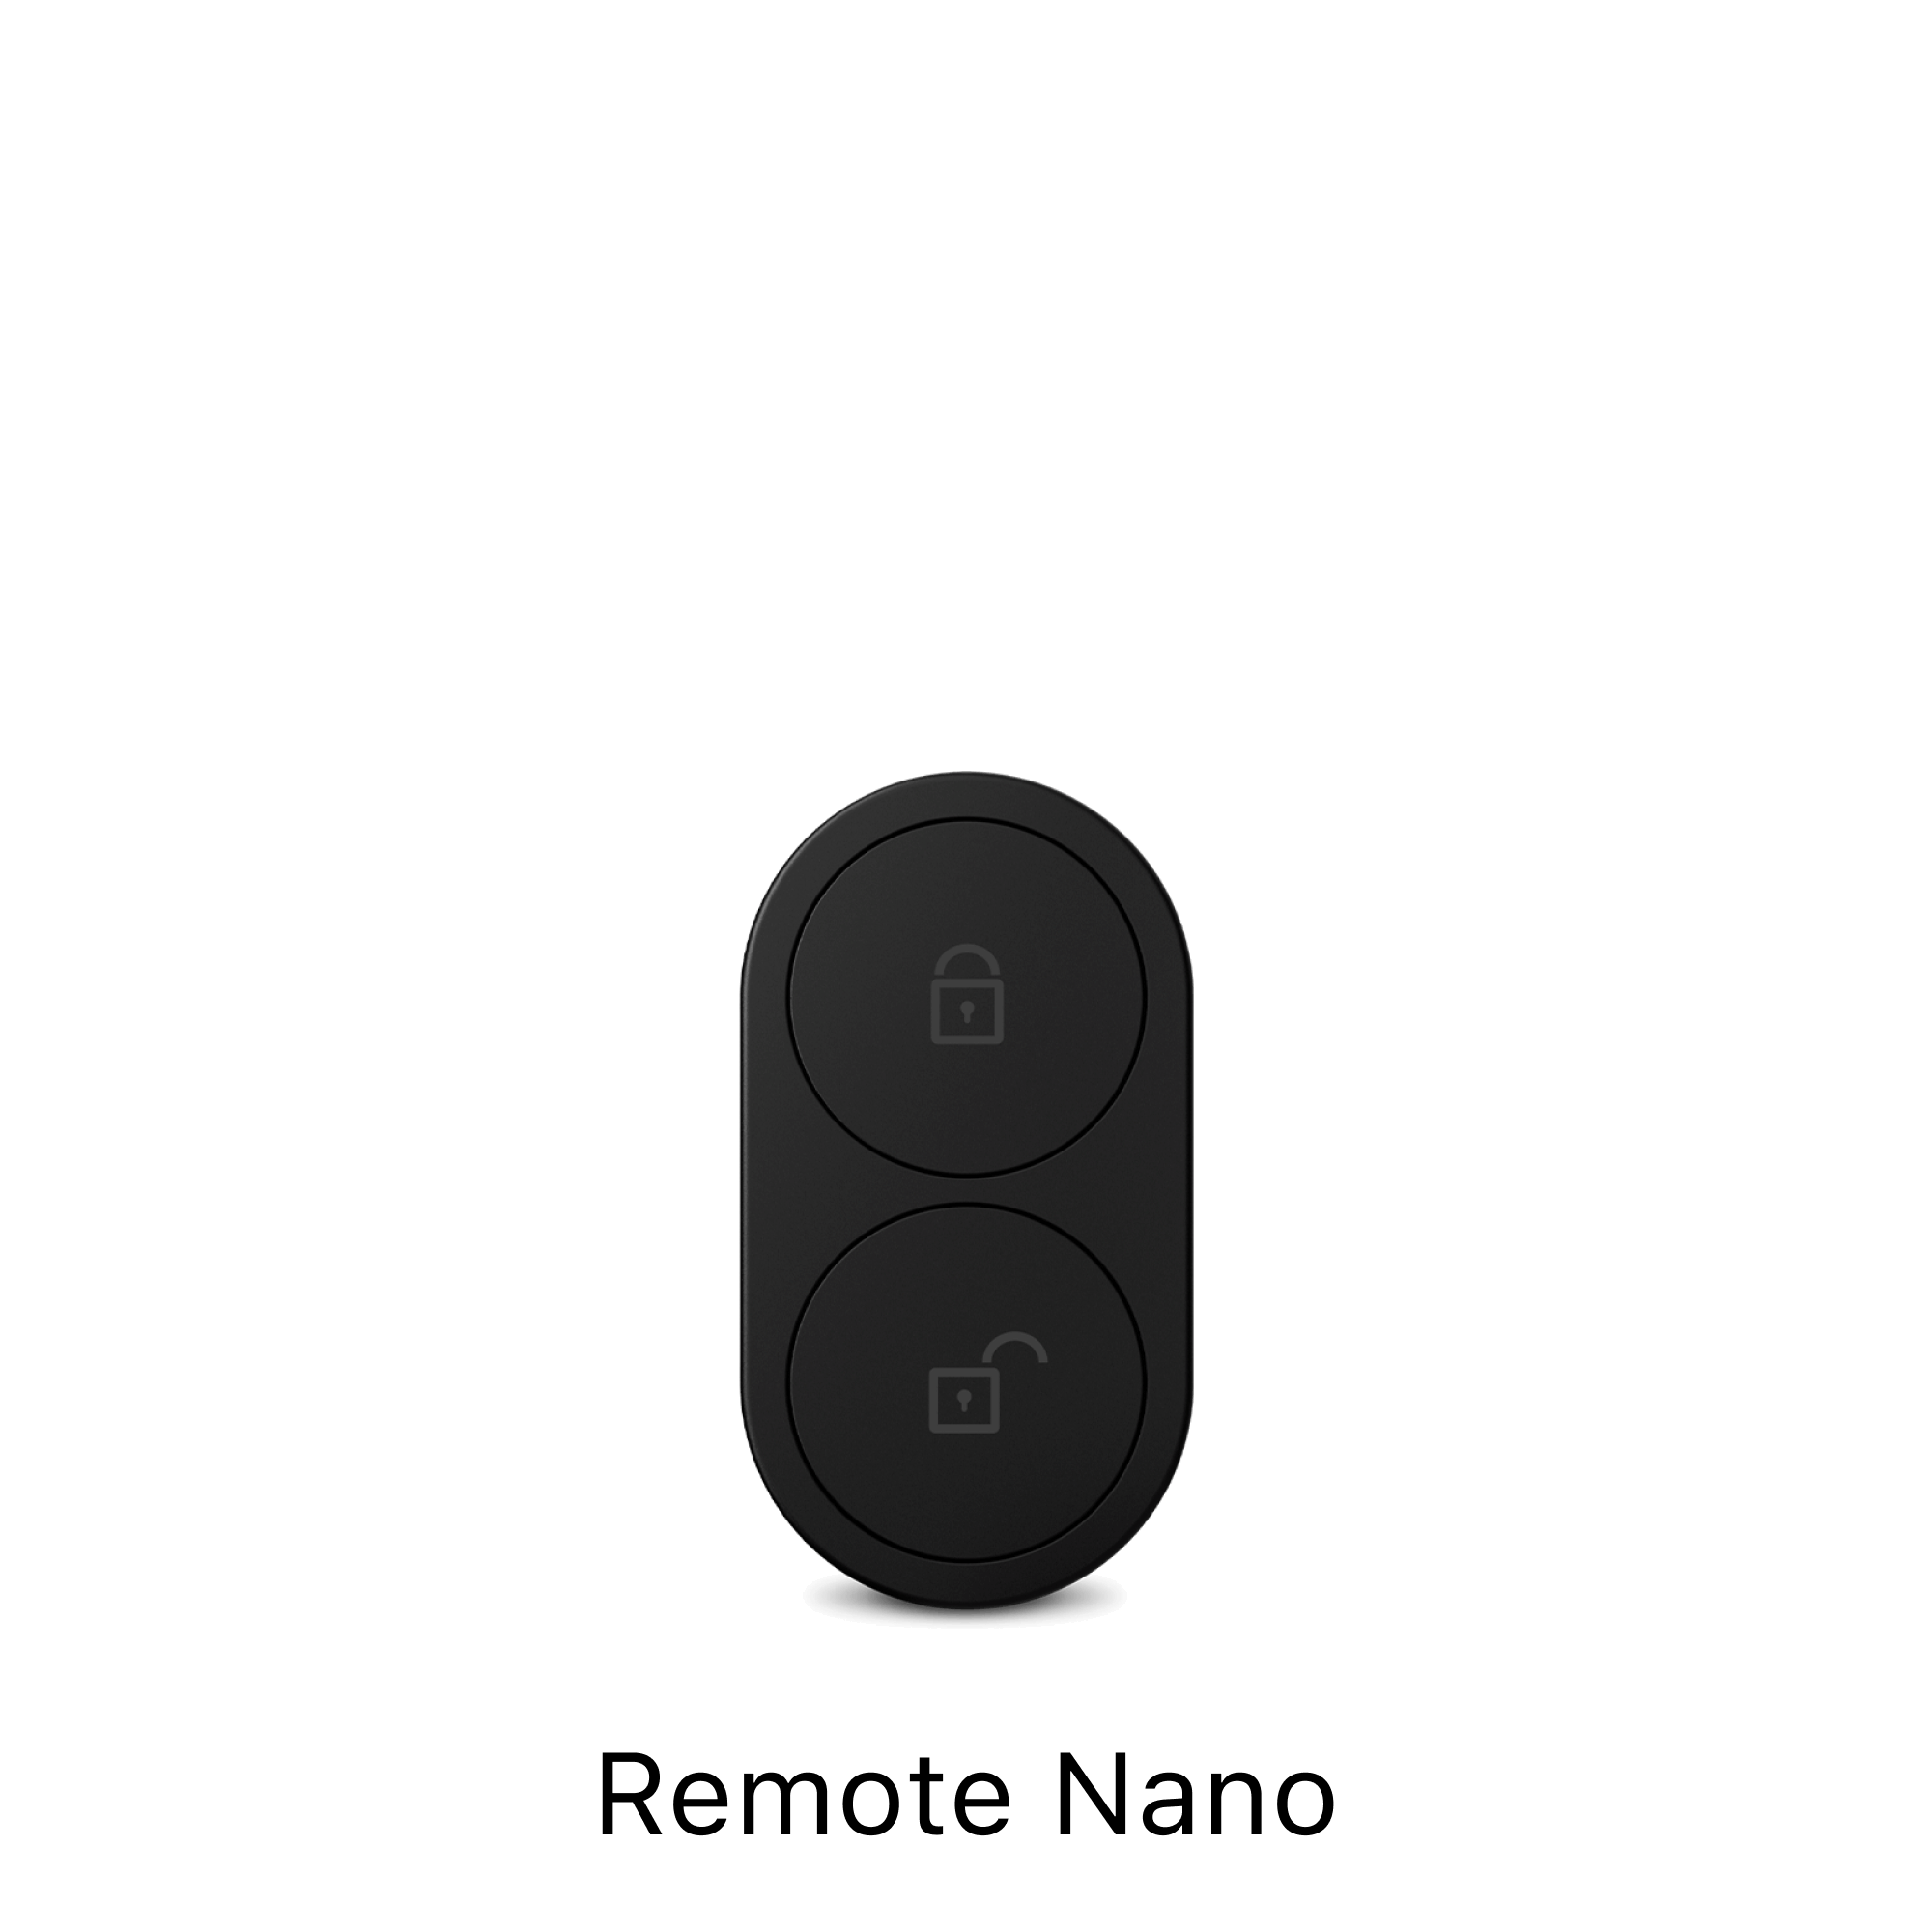
①Tap the "+" icon at the top right and select "New Device" to register your Remote nano.

②From this screen, tap "Add Sesame" and select the device you want to pair.
Please note: Once you leave this setup page, you will not be able to pair a Sesame again unless you perform a reset.
You can pair up to two devices, and only Sesame 5, 5Pro, and Cycle 2 are compatible for pairing.


Once you leave the setup page, the screen will display a message indicating that pairing a new Sesame, changing the name, or updating the OS will no longer be possible.
This is by design to conserve the battery of the Remote nano.
If you need to pair another Sesame, remove a Sesame, change the name of the remote nano, or update its OS, please note that a reset will be required.
We apologize for the inconvenience and appreciate your understanding.

How to Reset Your Remote/nano?
3) Continue holding until the blue light turns off — this means the reset is complete.


When resetting, please use a paperclip or SIM pin to press the reset button. Do not use sharp needles or press too hard/deep, as this may damage the device.
Gently press until you hear a small “click” sound to ensure proper reset.
The differences between the Remote and Remote nano are as follows:
f you are looking for a smaller and more compact design, we recommend the Remote nano.
If you prioritize faster operation and responsiveness, we recommend the Remote.

The Remote nano is small and easy to carry, but if the button gets pressed unintentionally while it's in your bag or pocket, it can be inconvenient...
For those experiencing this issue, a new feature has been added! 💡
1. First, update the Sesame app to the latest version.
2. To update your Remote nano to the latest OS, perform a reset and re-register the device.
3. After registration, without leaving the setup screen, update the Remote nano to the latest OS.
4. Next, perform another reset and re-register the Remote nano in order to set the Trigger Time.
5. After re-registering the Remote nano, without leaving the setup screen, tap on "Set Trigger Time" and choose either 0.0 seconds or 3.0 seconds.
If you set it to 3.0 seconds, the Sesame lock will only respond when the button is pressed and held for 3.0 seconds — helping prevent accidental presses in your bag or pocket 😊
If you've been having trouble with unintentional presses, definitely give this a try! 🙌✨
Introducing how to register hub 3 in video.
・ 2.4GHz Wi-Fi network
・ Install a WiFi module where the Bluetooth of Sesame arrives. Recommended is within 4-5m.
( * The closer the distance between the sesame and the WiFi module, the more stable, and if there are obstacles between the equipment, the connection may be blocked.
・ Install the wifi router at home within the range where the WiFi module can be connected.
(The connection will be unstable if the distance is far, there is an obstacle, or if it is installed on a different floor.)
① Select "Hub 3" from "New Device"
② Select your WiFi network and enter your password

③ Wait until all "net connection status" lights up
After that, select "Add Sesame ..." and connect Sesame and Hub 3.
After adding sesame, if the LED light of the hub 3 changes to blue, it can be connected normally.

④ This is done!
If it is connected via WiFi, the sesame wifi mark will be green.

・violet(When the product arrives, after reset)
・red/Blinking like breathing (connected to a wifi router, but not paired with sesame devices)
・Blue/Slow flashing (not connected to Wifi router)

・Blue/Blinking quickly (connected to the wifi router, but the Bluetooth connection with the paired sesame device is interrupted)

・Blue/Flashing like breathing (connected to a Wifi router and can work normally with sesame devices)


Preparation:
・ Register the hub 3 in the sesame app and pair with sesami who wishes to collaborate.
・ Confirm that your HomePod has been registered in the Apple Home app
・ Confirm that your smartphone, hub 3, and HomePod are connected to the same WiFi network
(1) Tap the Matter item in the sesami app and issue a code or QR code for pairing the match.
This code is also listed on the back of the three hubs.

② Open the home app and register according to the following procedure.
" +" → "Add accessories"
③ Scan the QR code generated using the sesame app earlier,
Select "Optional Options" and enter the code.

④ Wait for the device to complete the connection.

⑤ Hub 3 (bridge) was safely detected. Set the location and name of the hub 3.

⑥ Set the sesame device in cooperation with the hub 3.
If you have multiple devices, you need to repeat the same operation.


⑦ Completed!

* You can change the device name by pressing and holding the device.

Preparation:
・ Register the hub 3 in the sesame app and pair with sesami who wishes to collaborate.
・ In the Google Home app, confirm that Matter -compatible hubs such as smart speakers have been registered.
・ Confirm that hub 3 and Google Home devices are connected to the same WiFi network
(1) Tap the Matter item in the sesami app and issue a code or QR code for pairing the match.
This code is also listed on the back of the three hubs.
② Open the Google Home app and register according to the following procedure.
"Add" → "Matter compatible device"

③ Scan the QR code generated using the sesame app earlier,
Select "Set without using QR code" and enter the code.

④ Tap "Agree" → "Add to Google Home" and wait for the device to complete the connection.

⑤ Set the name of the accessories, tap "Continue" → "Complete" to complete.

Preparation:
・ Register the hub 3 in the sesame app and pair with sesami who wishes to collaborate.
・ At the Alexa App, make sure that the Matter -compatible hub, such as your smart speaker, has been registered.
・ Confirm that hub 3 and Alexe device are connected to the same WiFi network
(1) Tap the Matter item in the sesami app and issue a code or QR code for pairing the match.
This code is also listed on the back of the three hubs.
② Open the Alexa app and register according to the following procedure.
Tap " +" → "Add device" → "Matter".
③ Tap "Next" → "Yes" → "Yes".
④ Select "Enter code number" or "Read QR code", enter the code number issued in the sesami app earlier or read the QR code.
Wait for the device to complete the connection.
⑥ Change the device name arbitrarily and set up.
⑦ If you wish to unlock it in the Alexa app, set "Unlock in the app" on the sesame setting page, and
Also, if you wish to unlock by audio, set "Locking with voice and echo Hub" on and set a 4 -digit confirmation code.

1. Press the + mark at the top right of the sesame app and register the SESAME bot from "New Device"

2. Sesami Bot 2 can create 10 kinds of script (operating mode) by yourself.
By clicking the number below, the current script (operation mode) can be set to a script 1 and a script 2.

3. Click ">" to enter the setting screen of the number of that number.
4. Operation mode "0" has an action in advance by default, and the action of "right -handed 2 seconds" → "counterclockwise 1 second" is set as follows. (It is possible to change freely)

5. In the first to ninth operation mode, the action is not set, so you can add your own action. Press " +" on the upper right to add action.

The number of operating seconds is 0-254 seconds, and "eternity" can be set.
Number of seconds
And the action to be set can be selected from the following four. Tap the icon to change the operation mode.
About each operation
・ Clockwise (clockwise) → Bot arm rotates clockwise
・ Counterclockwise (counterclockwise) → Bot arm rotates counterclockwise
・ Sleep mode → The movement of the bot stops, and the arm can be moved manually.
・ Stop mode → bot movement stops, and during that time the arm cannot be moved manually.
After editing the action, don't forget to press the "Save" button on the upper left for iOS users!

When you tap the playback mark, the set script is executed.
If you add a pairing of sesame bot on the sesame touch/pro setting page,
It is possible to operate Sesami BOT 2 via Sesame Touch/Pro.
As follows, the link between sesami touch/pro and sesami bot 2 is performed.
* Sesame touch
Fingerprint/IC card match: The 0th operation mode is executed. The operating mode during setup also changes to 0th.
Fingerprint unevenness: The first operation mode is executed. The operating mode during setup also changes to first.
IC card mismatch: Sesami bot 2 does not move
* Sesame touch Pro
Fingerprint/IC card/PIN match: The 0th operation mode is executed. The operating mode during setup also changes to 0th.
Lock button: The first operation mode is executed. The operating mode during setup also changes to first.
Fingerprint/IC card/PIN unevenness: Sesami bot 2 does not move
First, check if the battery is not cut. If there is no problem, the blue lamp next to the reset button flashes. Depending on the brightness of your room, it may be difficult to see, so please check the battery lid as follows. (If you check the arm on the right side, you can check the blinking the blue lamp at the position of the following photo.)

Last update-2022.10.12 In the forest
The correspondence of the SESAME cycle is as follows.
・ Compatible bicycle: Mamachari City cycle
・ Attached diameter (φmm): 13, 16, 19mm compatible
If the existing key is a mounting diameter (φmm): 13.16 / 19mm, the SESAME cycle can be installed.

I don't need the bicycle key anymore.
Just replace your bicycle key, you can unlock your bicycle from your smartphone♪
SESAME cycle 1/2 setting method
(The photo of the following photo Sesami Cycle 1, Sesame Cycle 2 can be installed in the same procedure!)
1. Remove the existing bicycle key
Remove the screws on both sides with the screwdriver and remove the key body

2. Remove the insulating sheet of the SESAME cycle
(1) Since the cover is fixed with screws, remove it with a driver.

② Remove the insulation sheet. Return the cover and fix it again with a driver.
3. Select the mounting bracket band that suits the pipe part of the bicycle

Pay attention to the orientation of the band, insert

Bend lightly.

4. Attach the SESAME cycle to the bicycle
Attach the lightly bent mounting bracket band to the pipe and fix both sides with screws.
Close the screws to the end so that there is no looseness.

5. Make sure you can unlock / lock manually using physical keys

6. Download the sesame app (SESAME OS2)
7. From the sesame appSESAME cycleRegister
① Confirm that Bluetooth is on
② Press the + mark at the top right of the sesame app and register the sesame cycle from "New Device".

* Unlike smart lock cesami, the SESAME cycle is only unlocked, so it is not necessary to set the position of locking or unlocking.
* If you fail to register the SESAME cycle, or if you remove the sesame cycle and re -register,Please reset once.
8. Finally, manually lock the bicycle and check if you can unlock it from the sesame app.
If you can unlock it, the setting is complete!
How to reset Sesame Bike 2
① If Sesame Bike 2 is locked, use a physical key or appsurelyUnlocking state. Please do so.
② The "Reset" button on the back side with your fingerLong pressdo.

③ The blue lamp turns on and the reset is completed if you keep pressing until it turns off.
Note: If you press the reset button while locking, the blue lamp will also light up, but it is not actually reset, so be sureUnlocked statePlease reset.
For order cancellations or changes, you can do so on our website.
*Please note that restocking and other factors may delay the shipment of your reordered items compared to the original order.
1. On our website, click on the account page, enter the email address used for your purchase, and input the verification code sent to your email.

2. Open the relevant order, and under "Order actions," select "Cancel or Change" to modify your order details.

Regarding refunds, the timing of the credit card refund depends on the billing cycle of your credit card company.